Midjourney · Midjourney Essentials
First AI Art
Understand Midjourney prompting
Crafting Images with Precision
You've already seen how Midjourney turns simple words into visual stories.
Today, you'll take the next step: learning how the phrasing of your prompt and changes in it can completely reshape your results. Let's discover what makes a good prompt and how to get exactly what you want from the tool!

Choosing the Right Words
Suppose you are creating an illustrated book of fairytales that you can later sell online or give as a gift to children.
The text goes: "A tall castle rises above the valley as the sun begins to climb." You want to show the valley and the skyscraping castle towers. The image should feel dramatic, magical, and full of height.
practice preview
Interactive practice
prompt fixer
Decide which word creates the intended visual effect, then fix the prompt.
The words you use guide the image. Specific terms give Midjourney a clearer direction. Instead of "beautiful," try "elegant," "serene," or "vibrant." Instead of "fast," try "swift" or "racing."
Sharper wording leads to more intentional results.
Use Exact Quantities
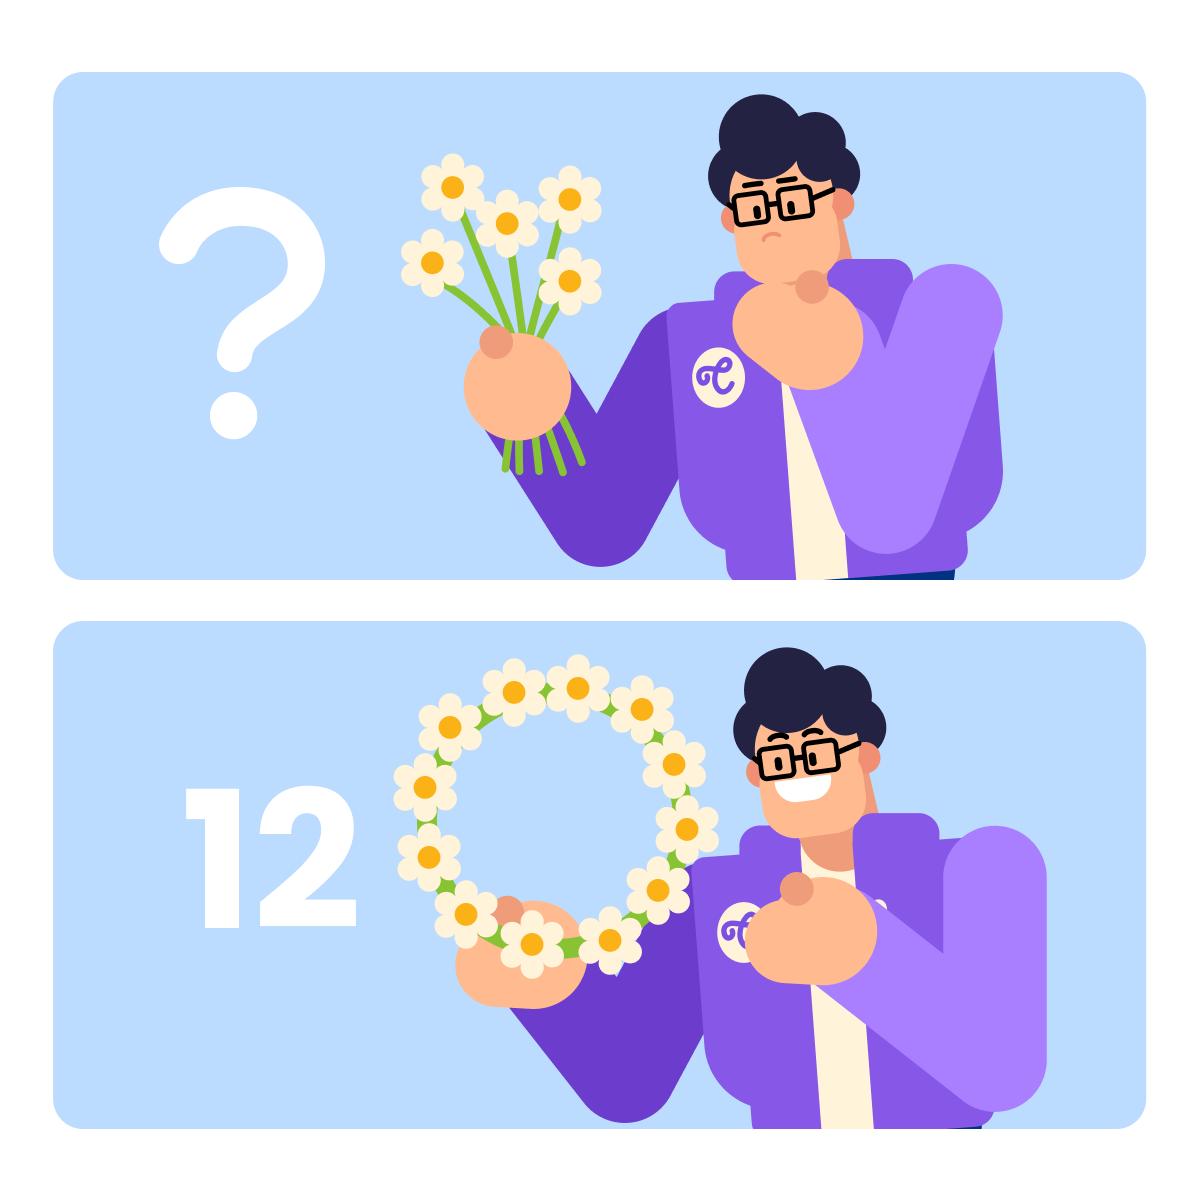
Another tip for clarity in your prompts: avoid vague plurals.
- "flowers" → open to interpretation
- "twelve flowers arranged in a circle" → clear composition
You can also use collective terms like "a cluster of lanterns" instead of simply "lanterns."
More Prompting Pitfalls
Let's now look at some more tricky parts that might affect your result.
Imagine you are preparing a productivity guideline for your team and need a clean workspace shot. You want something tidy, simple, and visually calm.
practice preview
Interactive practice
Negative instructions can still introduce the thing you're trying to avoid. Like we just saw, if you write "a desk setup with no clutter," you may still see clutter-like shapes.
Focus instead on what should appear: "a clean, minimal desk setup with one laptop and soft lighting."
For removing elements, add the "--no" parameter at the end of your request to exclude items explicitly. For example, "--no text," "--no people," or "--no clouds" tells Midjourney to avoid adding those items.
It's not perfect — the model may still include subtle traces of the excluded object — but it's the most reliable way to reduce unwanted details.
For example, here is how the "--no" parameter works in our clean desk setup request: "A desk setup --no clutter"
We will explore more parameters in future lessons!
You don't always need many details in your prompts: they can stay minimal — even a couple of words or emojis work. When you keep things short, Midjourney relies more on its default style to complete the image.
If certain elements matter to you, include them. The fewer details you specify, the more variety you get, but you also lose control over the final result.
Be clear about details that matter to you. Parts to consider:
- Subject: Who or what? (person, animal, character, location, object)
- Medium: In what form? (digital photo, oil painting, illustration, sculpture, charcoal sketch)
- Environment: Where? (indoors, outdoors, in outer space, underwater, in the city)
- Lighting: What kind? (golden hour, soft candlelight, dramatic, neon)
- Color: In what shades? (muted, pastel, bold primary colors, warm tones, grayscale, monochromatic, black and white)
- Mood: Feelings to evoke? (energetic, dreamy, mysterious, cheerful)
- Composition: How is it framed? (portrait, wide shot, macro close-up, birds-eye view)
Adding Layers to the Prompt
To get straight to the point, you need to include all important details — but you should do it the right way.
Imagine you want to build an illustrated wildlife guide for junior schoolchildren. You need to show a baby deer lying safely while two bluebirds watch from a branch above — soft forest morning light, gentle cartoonish style.
practice preview
Interactive practice
Fill in the blank
See how an expanded prompt for your task works in Midjourney.
Choose one
What do you think, did the generated images hit the target?
Select all that apply
Which problems in the prompt could lead to faults in the result?
practice preview
Interactive practice
Fill in the blank
Rebuild the prompt to get the desired image.
Choose one
Does this refined prompt suit the intended target and scene you were supposed to illustrate?
Why This Works
This prompt works because each detail reinforces a calm, child-friendly illustration:
- Clear subject: the baby deer is the focus.
- Defined relationship: bluebirds above → no blending or confusion.
- Simple environment: forest clearing keeps the scene readable.
- Unified style: soft cartoon look matches the gentle tone.
- Consistent mood: morning light adds warmth.
- Single viewpoint: wide-shot keeps all elements in frame naturally.
Together, these choices guide Midjourney toward a clean, coherent result.
Your prompt only works if all its parts agree with each other. When you mix conflicting details, like opposite styles or impossible viewpoints, Midjourney tries to satisfy everything at once. The result is often blurred, blended, or surreal.
A coherent prompt is not about adding more information — it's about adding the right information that supports a single, unified picture.
From Words to Visual Control
Prompting isn't about crowding the prompt with details — it’s about making purposeful choices.
Whether you're illustrating stories, designing products, or creating visuals for fun, the same rules apply: choose the right words, add the right details, and keep everything aligned.

- Choose precise language. Sharp, specific words steer the model toward accurate shapes, proportions, and mood.
- Describe what you want: positive instructions outperform negative ones. Tell Midjourney what should appear — not what shouldn't.
- Add details wisely. Your prompt must speak with one voice. Avoid conflicting, unclear, or impossible descriptions.
Great Job!
You've learned how to sharpen your wording, avoid common pitfalls, and build prompts that match your target outcomes.
These fundamentals give you real control and help Midjourney understand the story you're trying to tell.
You're Ready for More
In the next lesson, we'll go deeper into lighting — how to shape it, adjust it, and use it to guide mood and composition. With the right lighting choices, your images will become richer, clearer, and even more intentional.
You're building a strong creative toolkit. Let's keep going!