Claude: Deep Dive · Claude Capabilities
Claude Design
Design a prototype with Claude
From Idea to Visuals
You've probably been there: you have an idea for a design, but the path to actually making it is a whole bundle of tools. One for the wireframe, another for the mockup, a third for the landing page, a fourth for the slides. Claude Design clears all that out of the way.
You describe what you want, Claude generates a polished prototype, you iterate through conversation, and when the design is right, it hands off cleanly to Claude Code for the real build. By the end of this lesson, you'll have a personal portfolio website ready to ship.
Let's get started!

What's Claude Design?
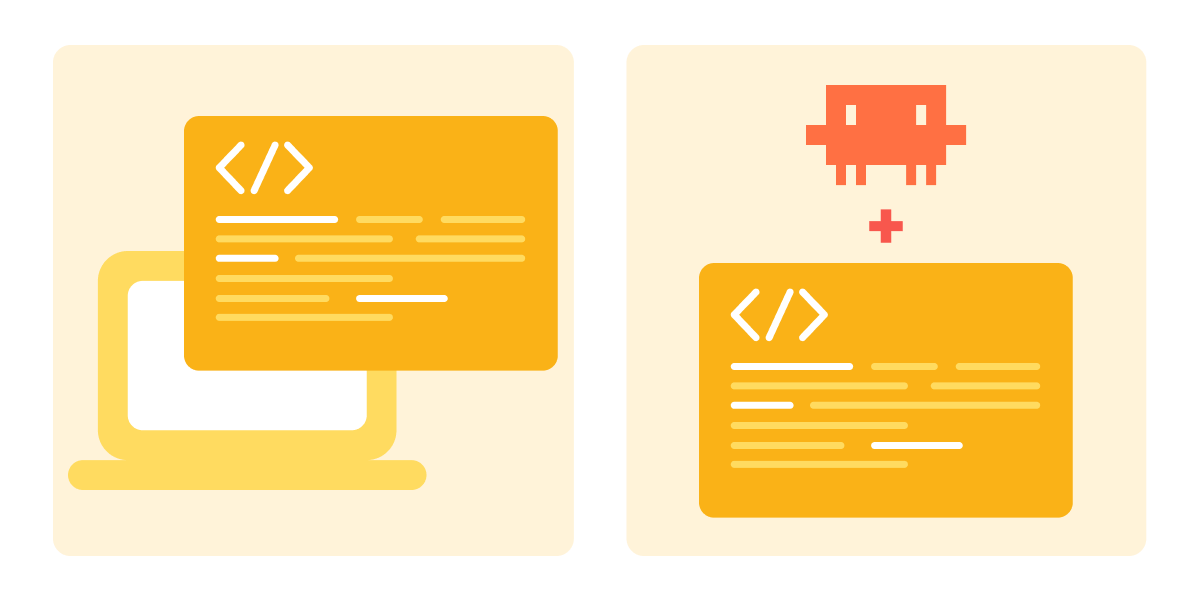
Claude Design is Anthropic's product for visual-first work. Two things make Claude Design distinct from a regular Claude conversation or an Artifact:
- The output is real, runnable code
- The handoff to Claude Code is built in
How Claude Design Fits With Everything Else
You've already seen Claude produce visual and interactive output — Artifacts and Claude Code both do it, just in different shapes. Claude Design joins the lineup as a third surface, and each one fits a different stage of work.
- Artifacts: quick interactive tools that live inside a chat conversation. Best for prototypes you make for yourself or share through a link.
- Claude Design: visual-first prototypes ready to share with stakeholders. Polished, production-quality output. The handoff to Claude Code is the distinctive feature.
- Claude Code: the production build. The real site, app, or codebase that ships.
Reach for Claude Code when an Artifact would have done, and you've over-built. Send an Artifact when stakeholders need a polished Design prototype, and you've undercommunicated.
Scenario: Build Your Portfolio
Imagine this: you've been meaning to scale your online presence. A real personal site: your work, how you think about your field, and how to reach you.
You've talked yourself out of building it for two years because of everything it involves:
- Write the copy
- Find a designer
- Pay for a template
- Learn a tool
- Ship something you don't love
Today, that whole sequence collapses.

What You'll Build
Over this lesson, you'll go through three iterations of a portfolio site in Claude Design. Each iteration focuses on a different layer of the work:
- Iteration 1: Content hierarchy — what goes on the page and in what order. The structural skeleton.
- Iteration 2: Visual structure — how the page looks and feels. Typography, spacing, color, and layout make the content read well.
- Iteration 3: Stakeholder test — does the page actually do its job?
At the end of the third iteration, you'll hand the design off to Claude Code for the real build.
Where Claude Design Lives
Claude Design opens from Claude on the web.
When you open it, the first thing you do is pick the project type:
- Prototype: websites, landing pages, dashboards, interactive UI work. You'll use this for the portfolio.
- Slides: presentation decks, pitch decks, internal slides
- Document: resumes, PDFs, and other documents
- Wireframe: lo-fi screens and flows; early structural exploration
- Animation: motion and video work
You can also start a blank project when none of the above fits — simply click the text below the template ideas.
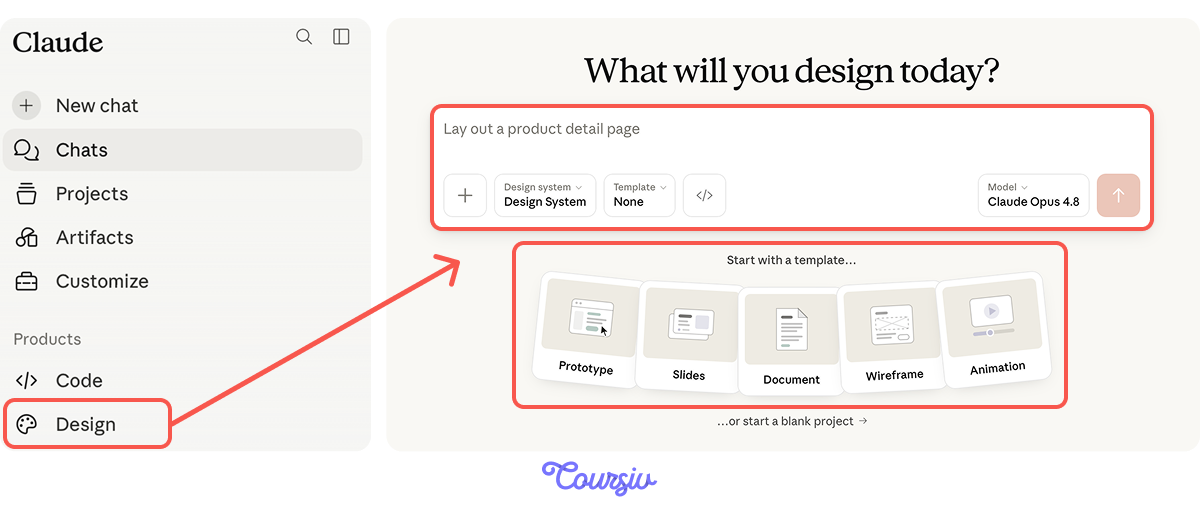
For the portfolio site, choose the Prototype. Now you're in the workspace.
The workspace is split into two:
- The left side is where you describe what you want and provide context.
- The right side — labeled Design Files — is where Claude's creations will appear as they're generated.
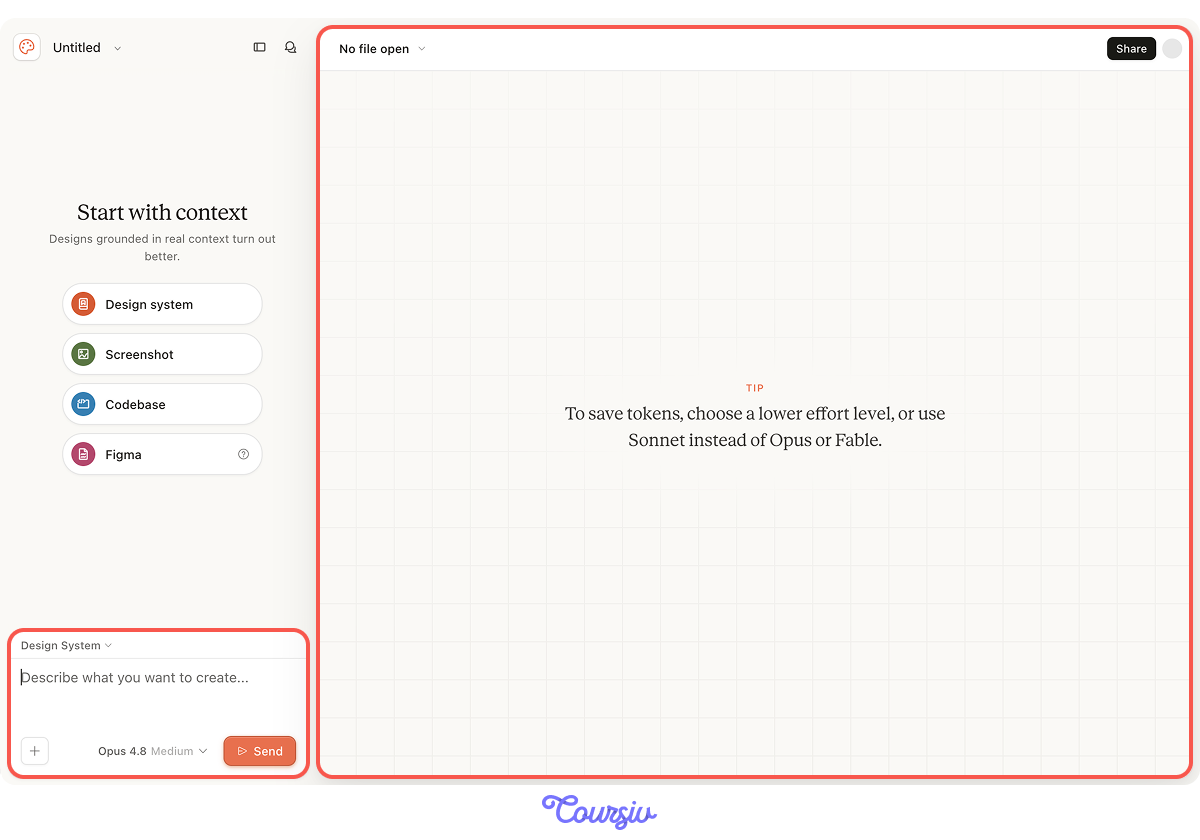
Claude Design opens with "Start with context." The work isn't just text-to-design — Claude Design accepts richer inputs that anchor the prototype in real material:
- Design system: A set of reusable colors, fonts, and components that keep a product looking consistent. If you have one, the prototype will follow it.
- Screenshot: Upload a reference image of a site or design you want to echo.
- Codebase: Point Claude to an existing codebase so the new prototype matches an existing product.
- Figma: Connect your Figma account in settings, then pull in elements or full files directly.
You can also drop files into the workspace, sketch something rough, or draft notes by hand and snap a photo. The brief you write is the foundation; these are the materials that ground it.
The Single Biggest Lever Is the Brief
Before you open Claude Design, the most important thing is what you bring to it. The brief you write determines the prototype you get.
A vague brief produces a generic prototype that you'll spend many rounds iterating to make specific. This is the same principle from every lesson so far: brief quality drives prototype quality more than any tool skill does.
What a Design Brief Should Cover
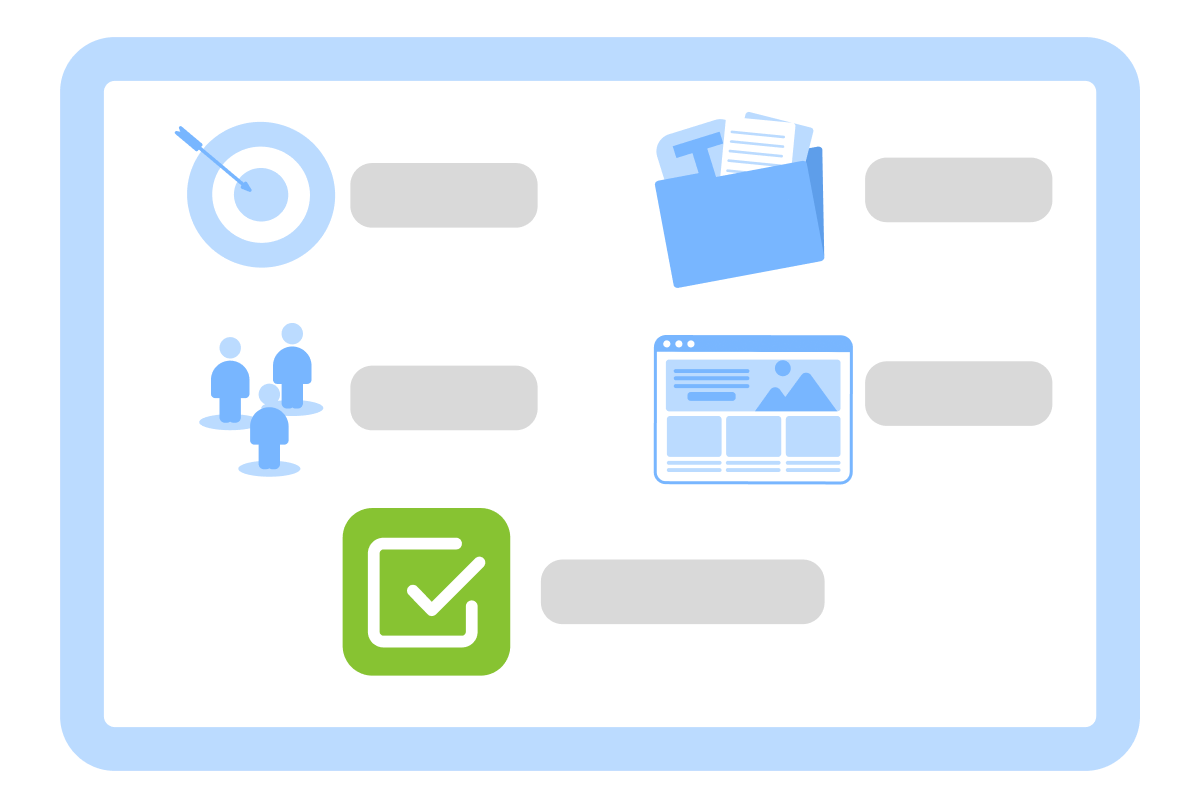
A useful design brief names five things:
- Goal = what the prototype is for, in one sentence (e.g., "A personal portfolio site that establishes me as a senior product manager")
- Audience = who's looking at it (e.g., "Hiring managers, prospective clients, peers in your field")
- Content = what's on it: the text, the sections, and the work being showcased
- Layout and feel = the structural shape and the visual register (e.g., "Single-page, scroll-driven, professional, not corporate")
- Acceptance criteria = what "done" looks like (e.g., "Someone who's never met me reads it for two minutes and can describe what I do and what I'm looking for")
practice preview
Interactive practice
True / False
Decide if this brief prototype is usable or vague.
Iteration 1: Content Hierarchy
The first iteration is about what's on the page and in what order. Before any visual work, the content hierarchy has to be right.
Before writing the brief, one thing worth knowing: Claude Design generates the layout, structure, and visual treatment — but the specific content (your real projects, your actual bio, real client names) needs to come from you. For a first iteration, plausible placeholder content is fine. You'll swap in the real details once the structure works.
practice preview
Interactive practice
Fill in the blank
Write the first Claude Design brief. Each gap shapes one part of the content hierarchy.
Reading the First Version
The preview pane shows the first version of the site. You scroll through it, reading as if you were the audience — an outdoor brand founder deciding whether to keep reading or close the tab.
The sections are in the right order, but you notice three things:
- The positioning statement is buried under your name and headshot when it should be the first thing readers see.
- The three case studies feel parallel when they should be ordered by relevance to outdoor brands.
- The "how I think about marketing" essay is closer to a manifesto than the working-philosophy piece you intended.
Iteration 1 isn't done. The hierarchy needs a pass.

Iterating Through Conversation
This is where the working pattern matters. You don't open a settings panel, drag elements around, or learn a tool's interface. You describe the changes you want.
Three ways to make changes:
- Conversational prompts — type in the chat. "Move the positioning statement above my name and headshot. Reorder the case studies so the climate-related one is first."
- Inline comments — click directly on an element in the preview and leave a comment. "This section feels too manifesto-y. Make it more practical."
- Direct text edits — click on copy in the preview and edit it yourself. Useful when you know exactly what the text should say.
For structural changes, conversational prompts are best. For surgical fixes, inline comments work better. For copy you want to control word-by-word, direct edits are the right call.
The Hierarchy Pass
You give Claude three specific changes through the chat. The preview updates in a few seconds. You scroll through again. Now everything is exactly as you wanted.
Iteration 1 is done. The content is in the right shape.
Iteration 2: Visual Structure
With the content hierarchy locked, the second iteration focuses on the visual: how the page looks, reads, and feels.
Visual structure is best iterated in passes, too. Start with typography — it carries the most weight on a text-heavy site. Then move to layout: spacing, rhythm, and structural shapes. Color and accents come last, as the lightest layer.
practice preview
Interactive practice
Fill in the blank
Write the visual structure brief. Each gap shapes one layer of the visual work.
After Iteration 2, the prototype now has real shape: editorial typography, a single-column layout that breathes, a clean accent color, and your actual case studies sitting where they belong. Reading through it, the page feels like you.
But a portfolio exists for someone else to read. The visual iteration got the page looking right; the next iteration checks whether the page works for the person it's for.
Iteration 3: The Stakeholder Test
The first two iterations were about you — your content, aesthetic, and sense of what the page should be. The third iteration tests whether the page works for someone who isn't you.
The test: pick a person from the actual audience. You don't have to send the page to a real person. The exercise here is to read it through their eyes. What's confusing? What's missing? What's there that shouldn't be? You can also delegate this task to Claude.
In the chat panel on the left, tell Claude Design who's reading the page and what to look for. This works as a regular conversation — no separate skill needed. Claude Design treats the design as context for the review.
- Give it the persona: "review this as a head of brand at a mid-sized outdoor company looking to hire a senior marketer".
- Give it the questions you want answered: what would they look for, what's missing, what's there that shouldn't be.
Claude reads the prototype with that audience in mind and surfaces what you'd never catch on your own.
The Stakeholder Iteration
You revise the page based on the gaps the Claude Design review surfaced.
The page now does what it was supposed to do. An outdoor brand founder reading it cold can describe what you do, what you're looking for, and why you might be a fit.
Three iterations, one site. Ready to hand off.
The Handoff — What Makes It Different
At every other prototype tool, this is where the work gets harder. You have a polished output, but production is a different system.
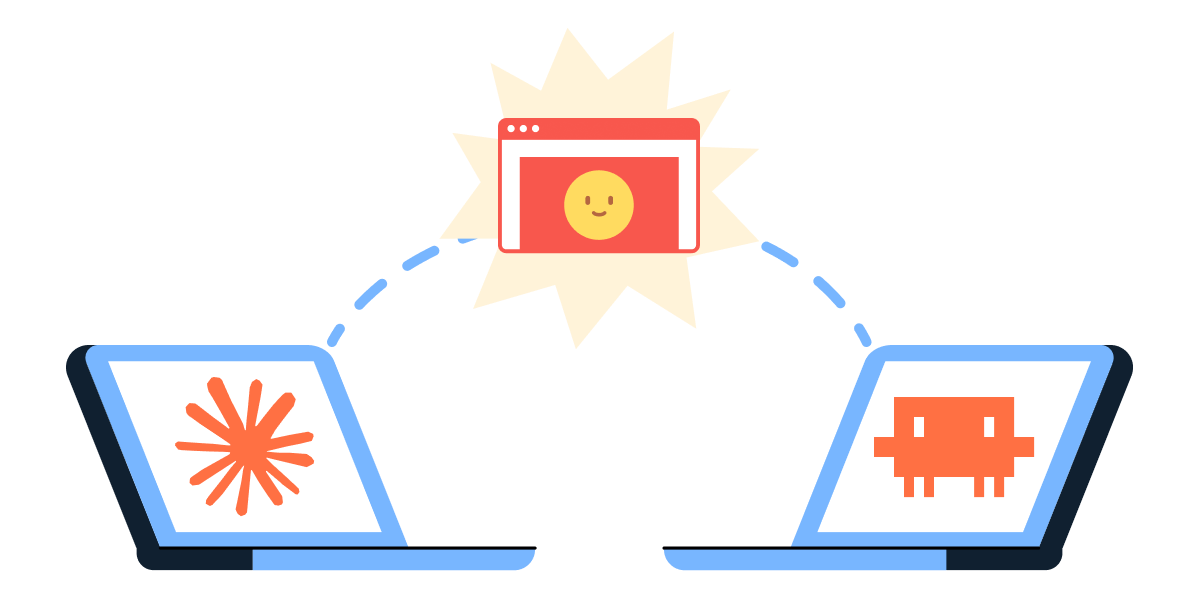
Claude Design's handoff to Claude Code is easy. The prototype is code. When you hand it off, Claude Code receives the actual HTML, CSS, and JavaScript with the design intent intact — typography choices, color decisions, spacing rules, interaction patterns. Everything is preserved from the file.
How the Handoff Happens
When the design is approved, you don't manually export the prototype, copy it elsewhere, or write a separate brief for Claude Code. The handoff is built into Claude Design.
In your project workspace, the action is one step: you tell Claude Design to hand the design off to Claude Code. The instruction can be conversational ("hand this off to Claude Code for the production build") or triggered through the workspace's handoff action.
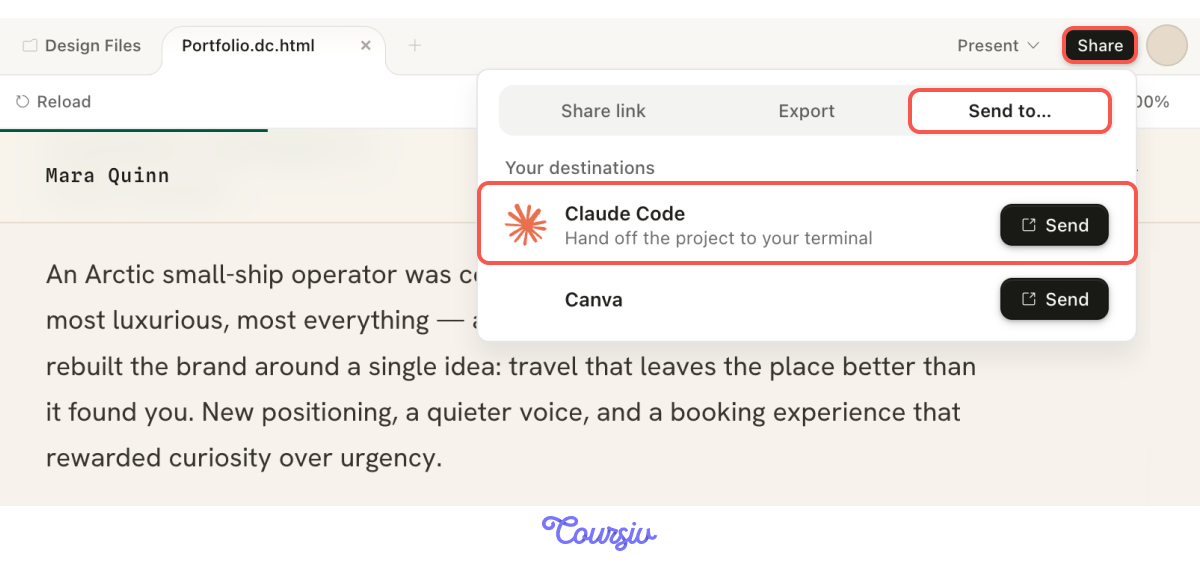
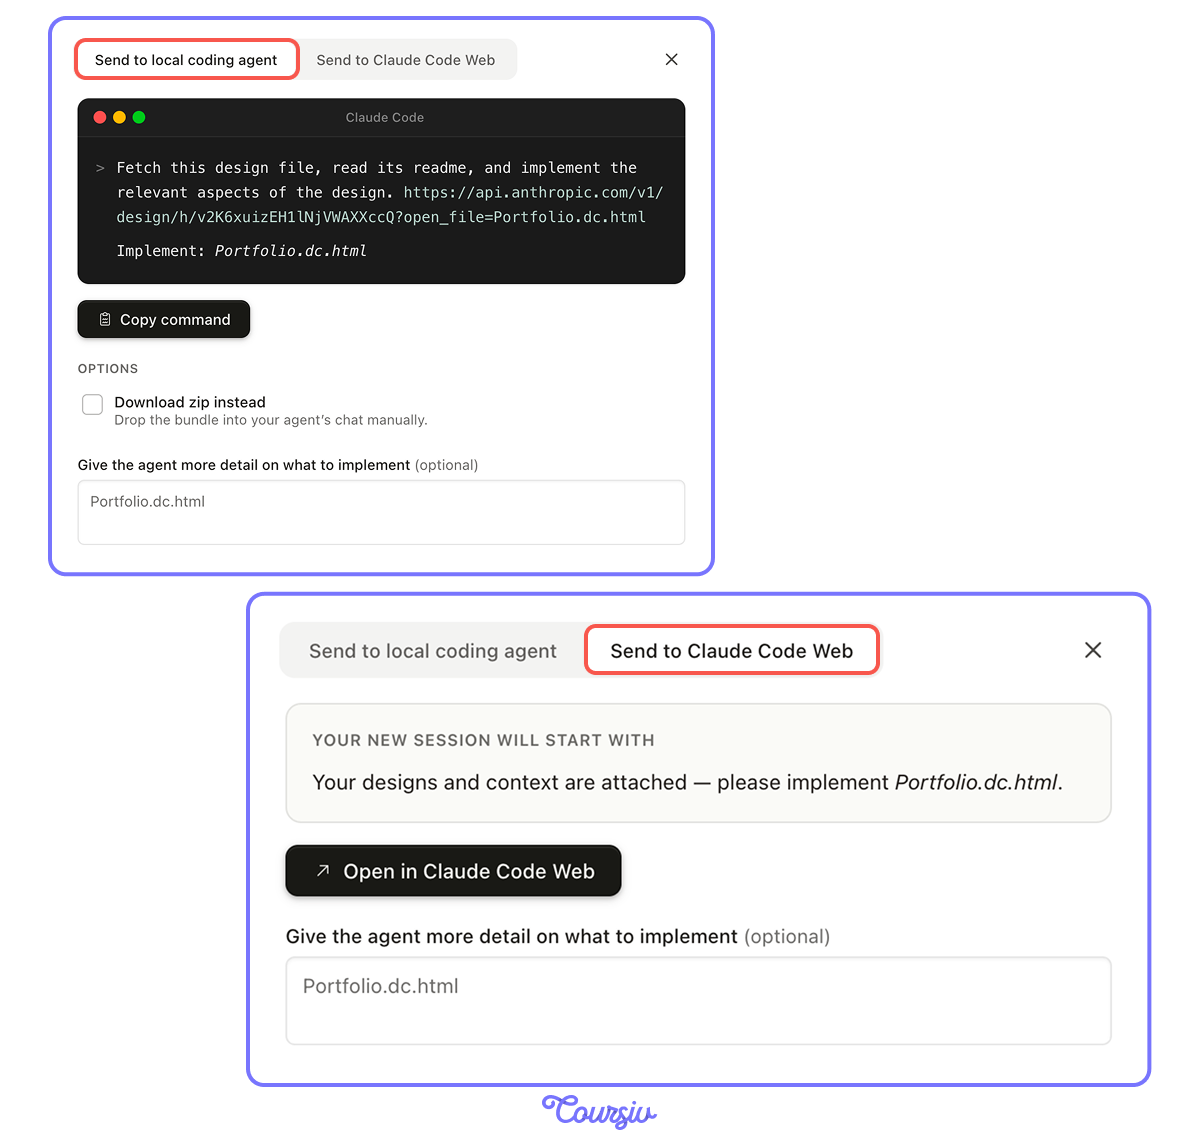
When you click Handoff in Claude Design, a dialog appears with two ways to send your work to Claude Code:
- Send to local coding agent: copy a command that points your local Claude Code session at the design file and tells it to fetch and implement.
- Send to Claude Code Web: open a new session in Claude Code Web with your designs and context already attached.
The bundle itself carries the approved prototype's code, the design intent from your conversation, and any constraints you've specified. And no copy-paste between tools!
- The brief drives the prototype. Vague brief produces generic output; structured brief (goal, audience, content, layout, acceptance criteria) produces a first version close to your intent.
- Iterate in passes, not all at once. Content hierarchy first, then visual structure, then the stakeholder test. Iteration discipline beats iteration volume.
- Iteration in Claude Design is a conversation. Natural language prompts for structural changes, inline comments for surgical fixes, direct edits for word-by-word control.
- The handoff is the distinctive feature. Claude Design's output is real code, and the handoff to Claude Code preserves the design intent. No translation layer, no context loss.
- Three surfaces for visual work. Artifacts (conversational), Claude Design (stakeholder-ready), Claude Code (production). The choice of surface follows from what happens next.
What's Next?
You've built tools, automated work, and shipped a real visual prototype — each on a different Claude surface suited to a different shape of work. The skill that ties it all together is knowing which surface fits which problem before you start.
The next lesson is exactly about this skill. You'll learn how to read a project, choose the right Claude surface for the work, and combine them when the work needs more than one.
Let's keep going!