AI in Design · Design: From Concept to Real Assets
Editing and Enhancing Images
Remove, replace, and enhance visuals
Great Shot, Messy Background
You have a photo of a runner mid-stride on a city street. Dynamic pose, sharp focus, right energy for a sports gear campaign — it's almost perfect. But behind them is a parked delivery truck, three pedestrians, and a construction sign. How do you save the situation without having to reshoot the whole campaign?
Meet Midjourney's Editor
Midjourney's Editor is a full in-browser image editing tool. It handles object cleanup, background removal, and generative fill.
What You'll See Inside the Editor
The Editor has three areas:
- On the left: the tool panel with Smart Select and Paint, which contains the Erase and Restore brushes.
- In the center: your working canvas.
- On the right: the results panel where generated outputs appear after each submission.
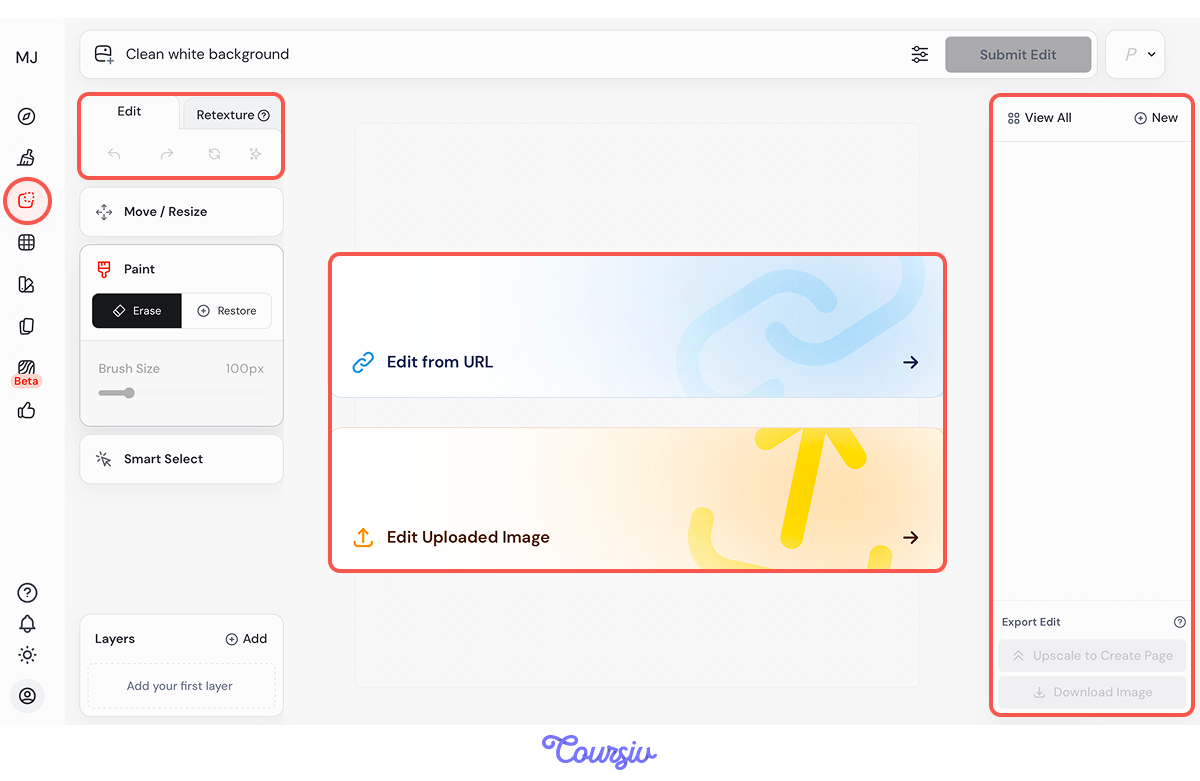
At the top of the screen is the prompt field — this is where you describe what should fill any area you've erased or selected. Every edit operation follows the same pattern: select or erase an area, write a prompt, and submit.
Meet Stride
For this lesson, you have a new challenge. Stride is a sports gear brand targeting urban sports enthusiasts aged 25-40. They have campaign images that need cleaning up before launch.
Remove the Background With Paint
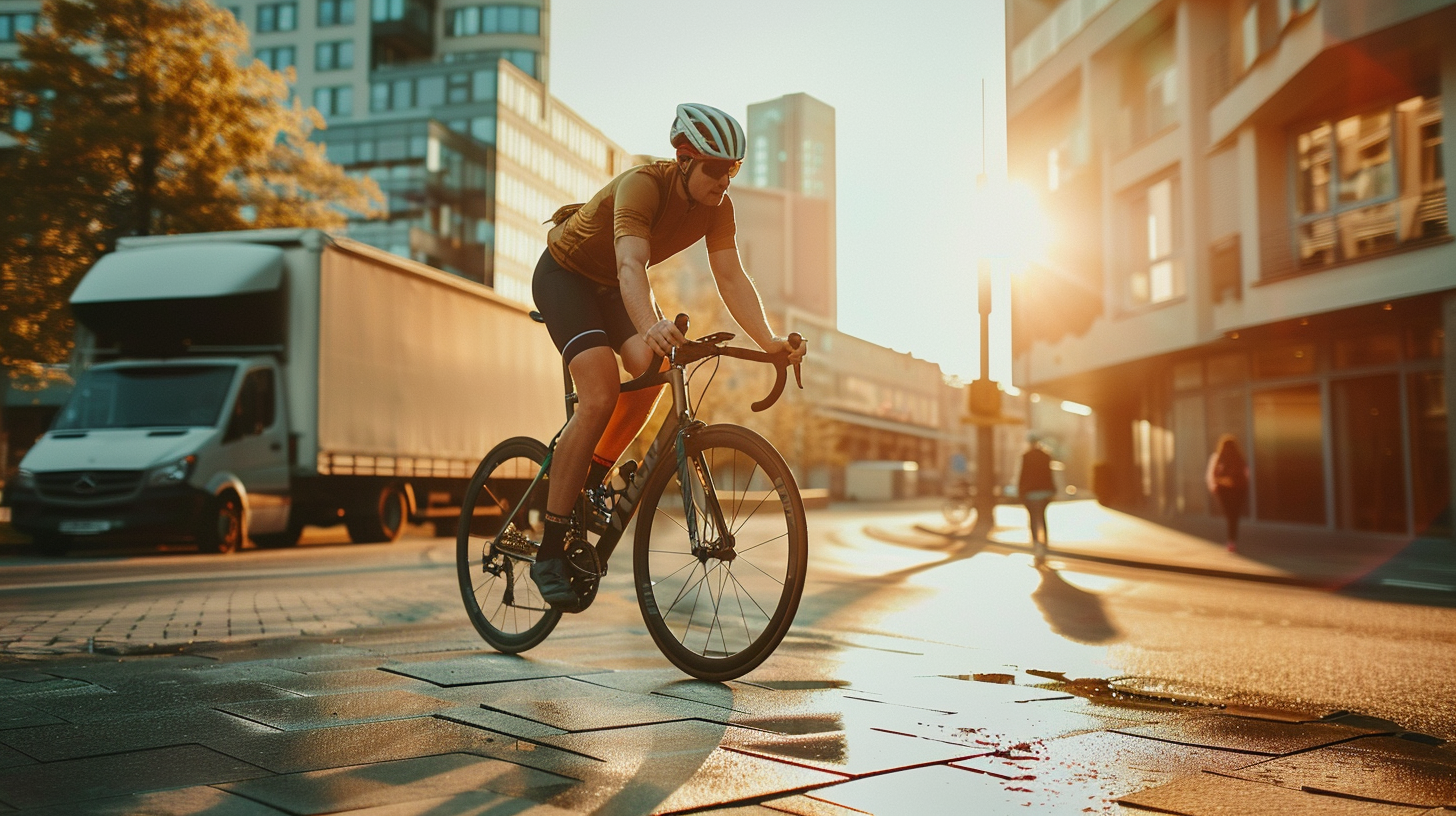
You have a photo of a cyclist in the city, but there's a truck in the background. The first task: clear the unwanted detail.
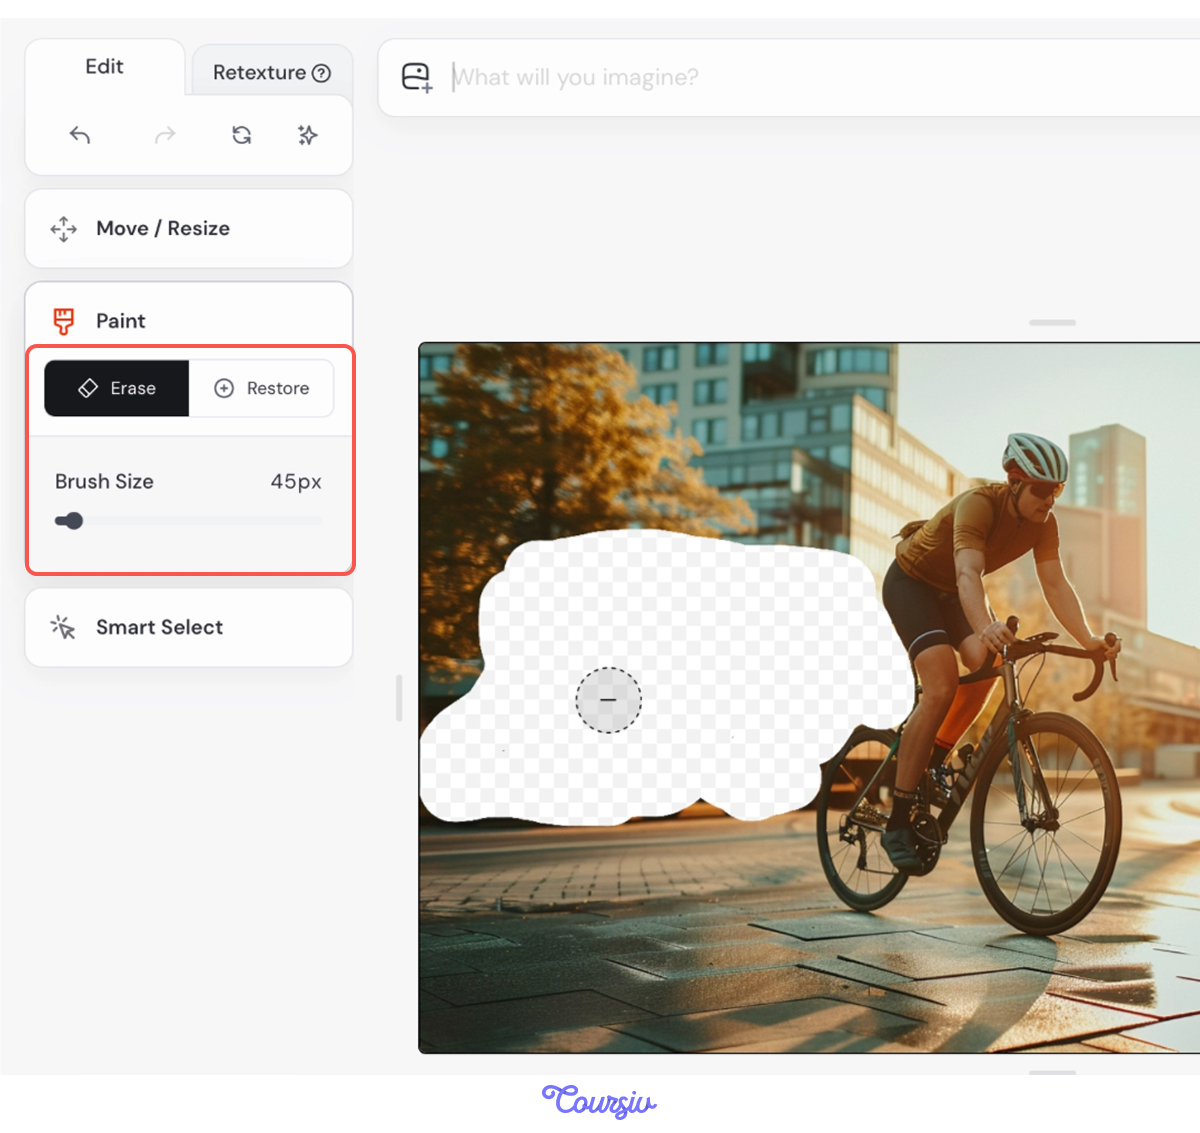
Paint is the right tool for this: it lets you select messy areas like unwanted objects or background clutter that you want to replace.
Step 1 — Mark What to Erase
Use Paint's Erase brush. Adjust the brush size and erase the truck in the image.
practice preview
Interactive practice
Fill in the blank
Write a prompt in the text field at the top of the Editor to describe what should replace the erased area.
Step 3 — Remove the Detail
Once the mask covers the truck cleanly and the prompt is ready, click Submit Edit. Midjourney fills the painted region to match the adjacent pixels and returns 8 output options. Choose the one that blends best with the surrounding scene.
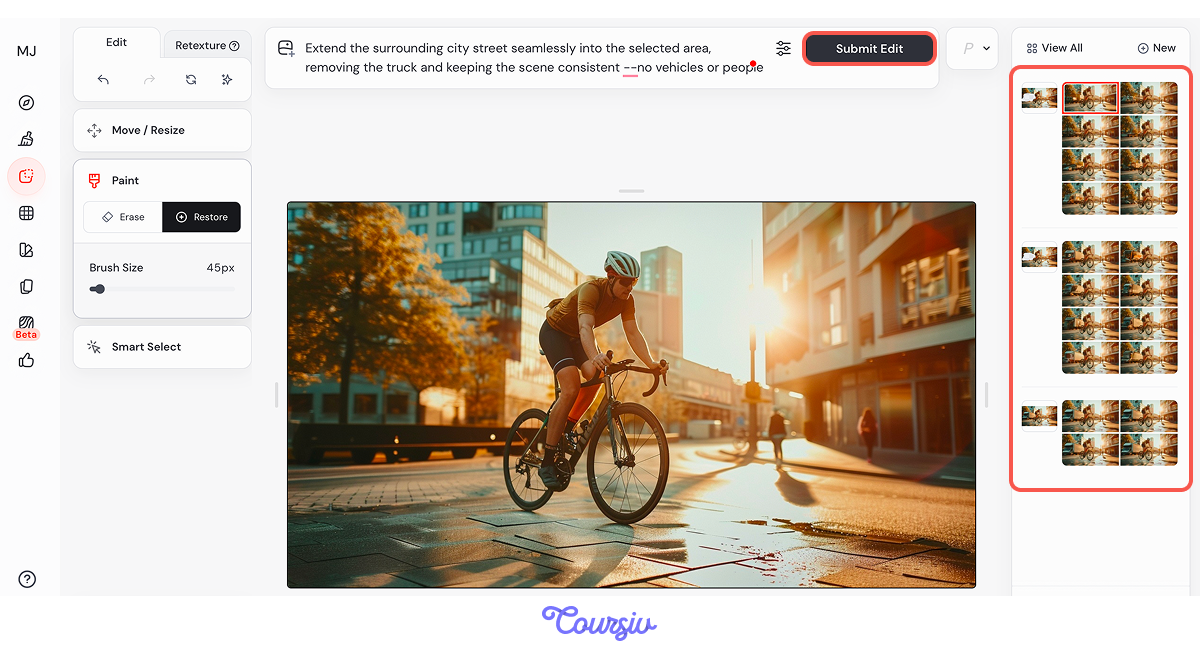
Cleanup prompts work best when they describe what the area should look like — material, color, and lighting condition. Those three inputs give the model something to match.
Isolate a Subject With Smart Select
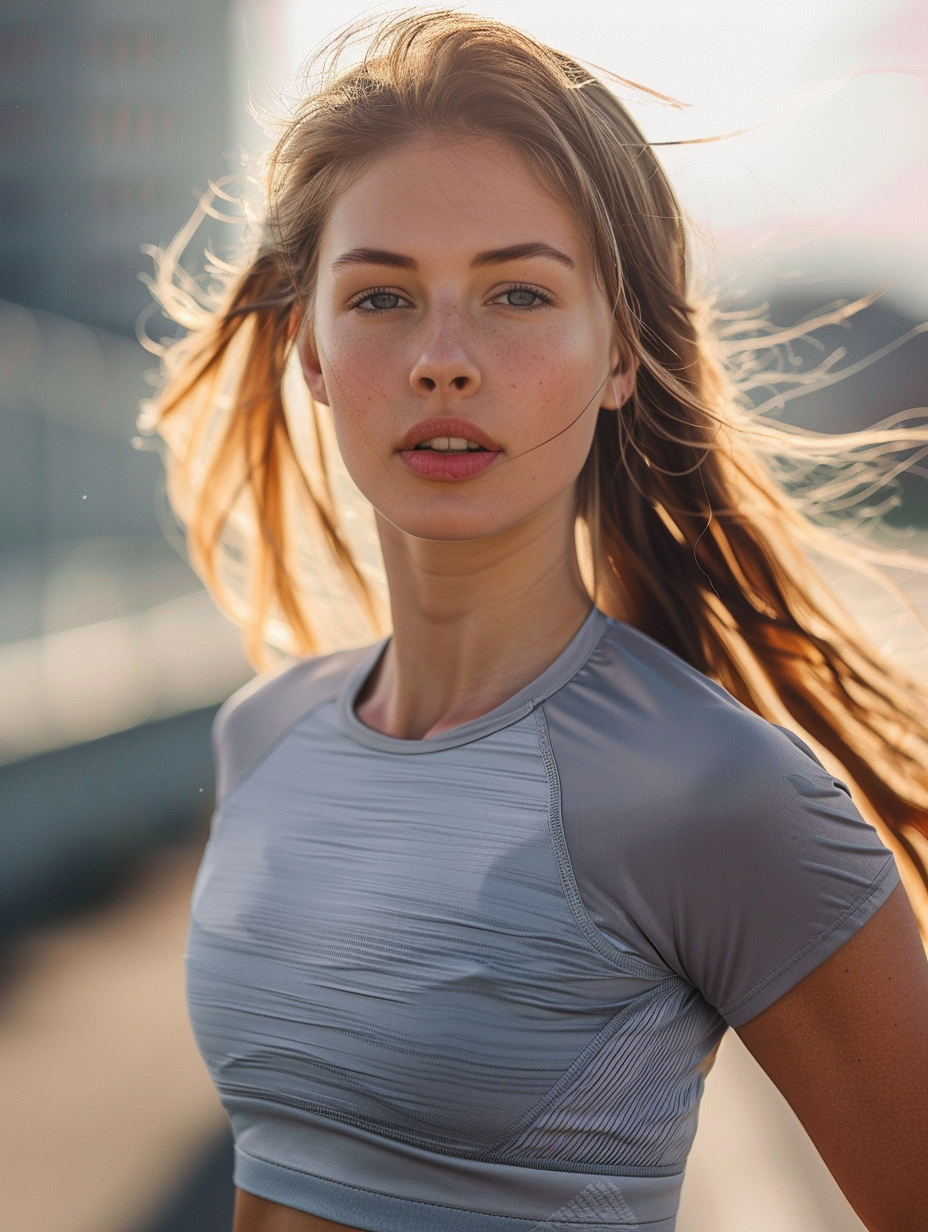
The truck is gone. Now Stride needs another output — a transparent PNG of a runner for a product webpage. Smart Select handles this: it creates a selection mask using positive and negative points — no manual painting required.
Step 1 — Mark What to Keep
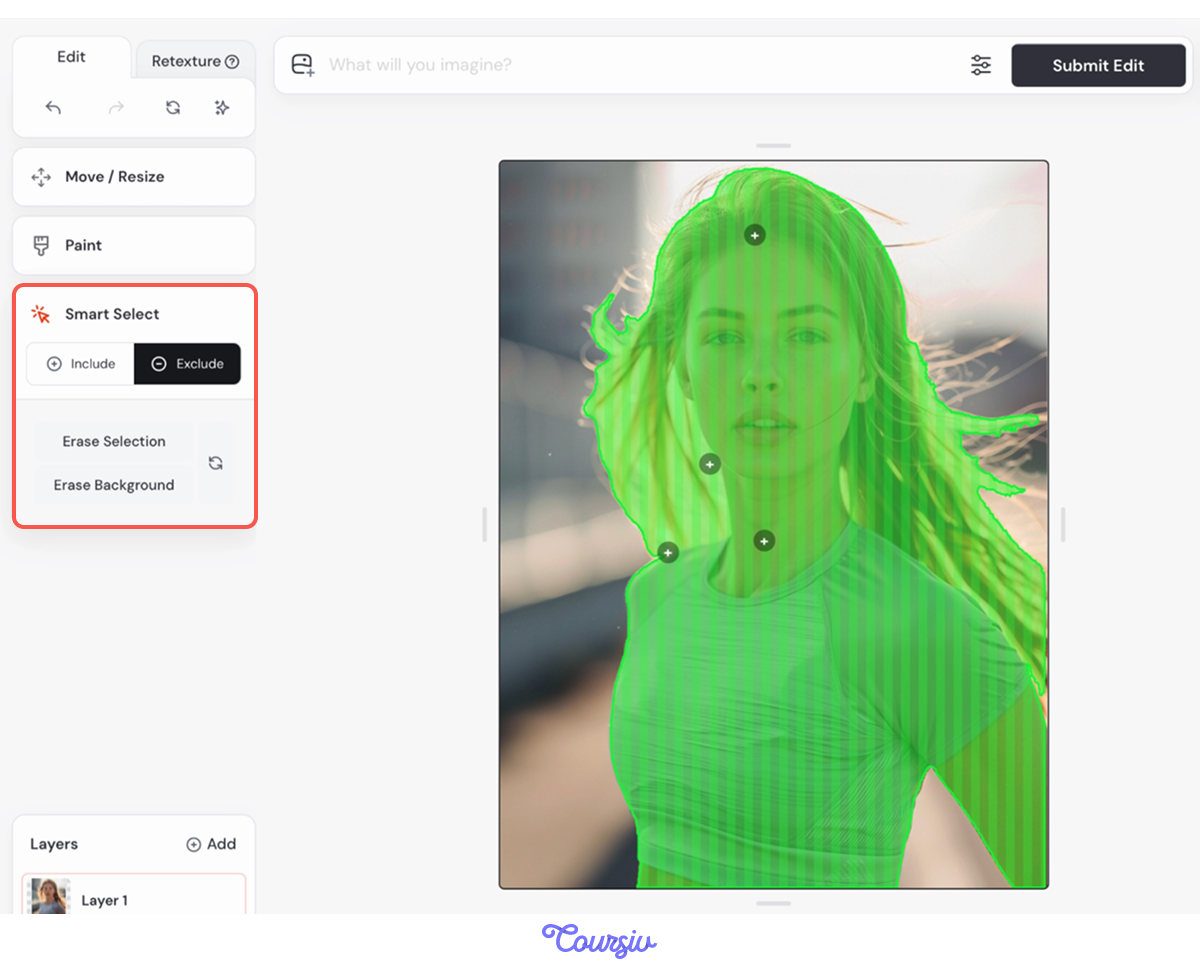
Click Smart Select to activate it, then click directly on the runner. These are positive points that tell the tool to include this area in the mask. Add enough points across the full figure to cover the subject completely.
Step 2 — Mark What to Remove
Click on Exclude and click the background. These are negative points that exclude those areas from the mask.
Step 3 — Remove the Background
Click Erase Background. Everything outside the mask is removed. The result is a transparent PNG with the runner isolated.
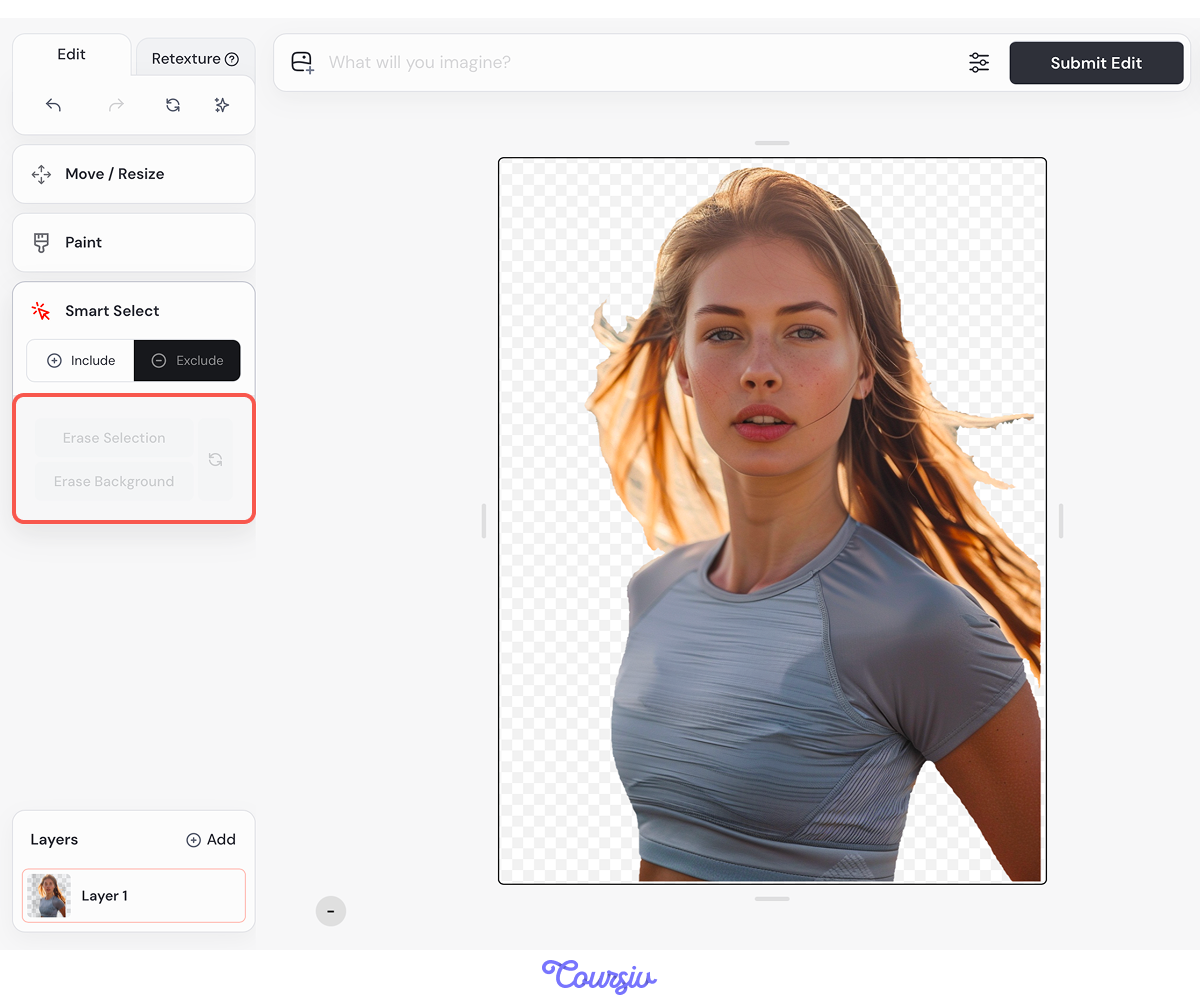
Smart Select handles edge detection automatically — it reads color and contrast boundaries to separate the subject from the background. For a runner against a street, the contrast between clothing and pavement gives the model clear edges to work with.
Replace the Sky With Generative Fill
The runner is cut out and ready to drop into any layout.
One more element is holding the Stride campaign back: on one of the images, the sky is flat and grey. It's not the mood a sports gear campaign needs. This is where generative fill comes in.
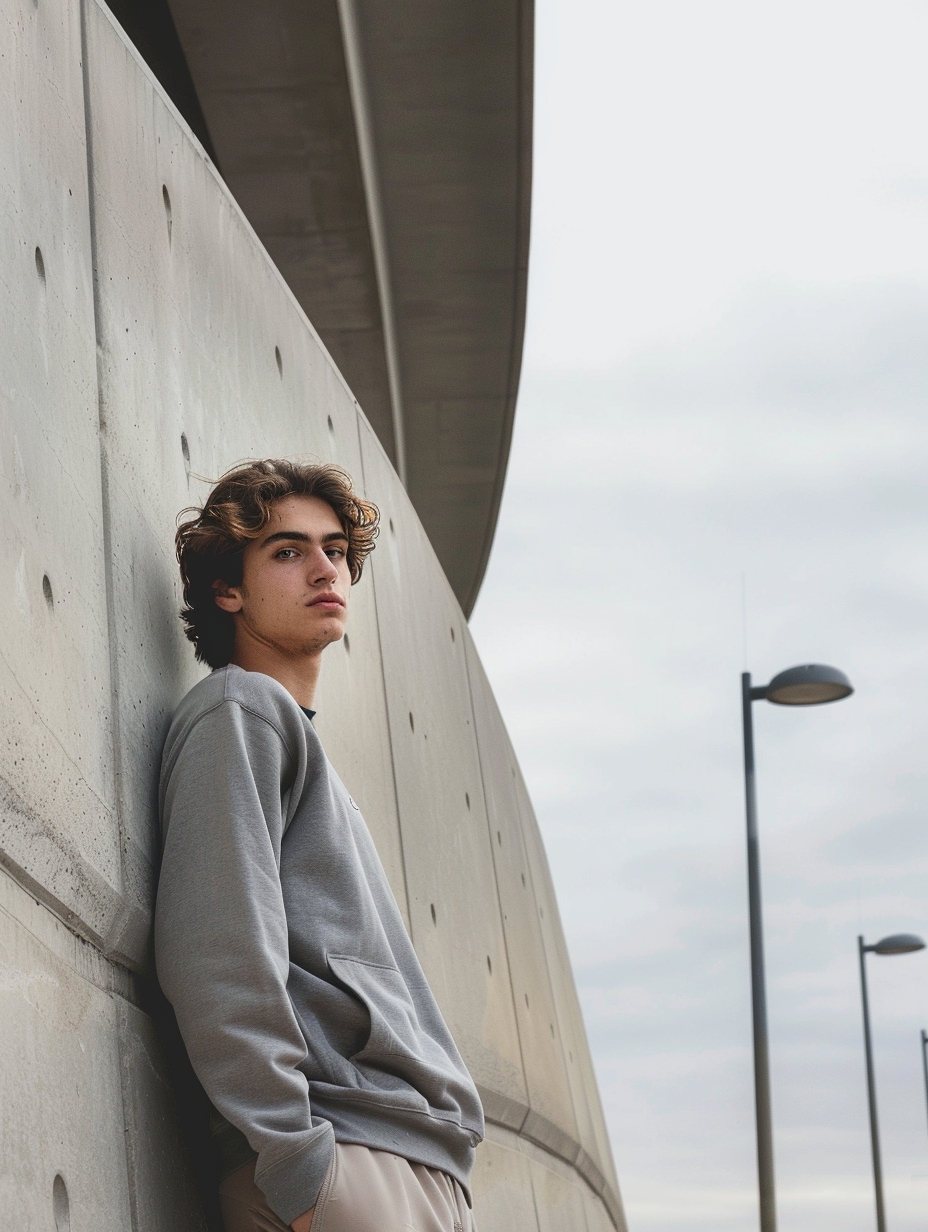
The difference between cleanup and generative fill is scale and intent. Cleanup erases a small area and asks the model to continue what's already there. Generative fill erases a large area and introduces something new, while matching the surrounding image's lighting and style.
practice preview
Interactive practice
Fill in the blank
Complete the generative fill prompt.
A generated fill that doesn't match the original image's light direction and temperature will always feel like a composite. Describe the lighting condition in the prompt alongside the scene: not just what to generate, but how it's lit.
Export for Use
Once the edit is done, click Download Image at the bottom right of the Editor to save the file at original resolution with transparency preserved. For a higher-quality output — for wide-format banners or print — click Upscale to Gallery first, then download from there.
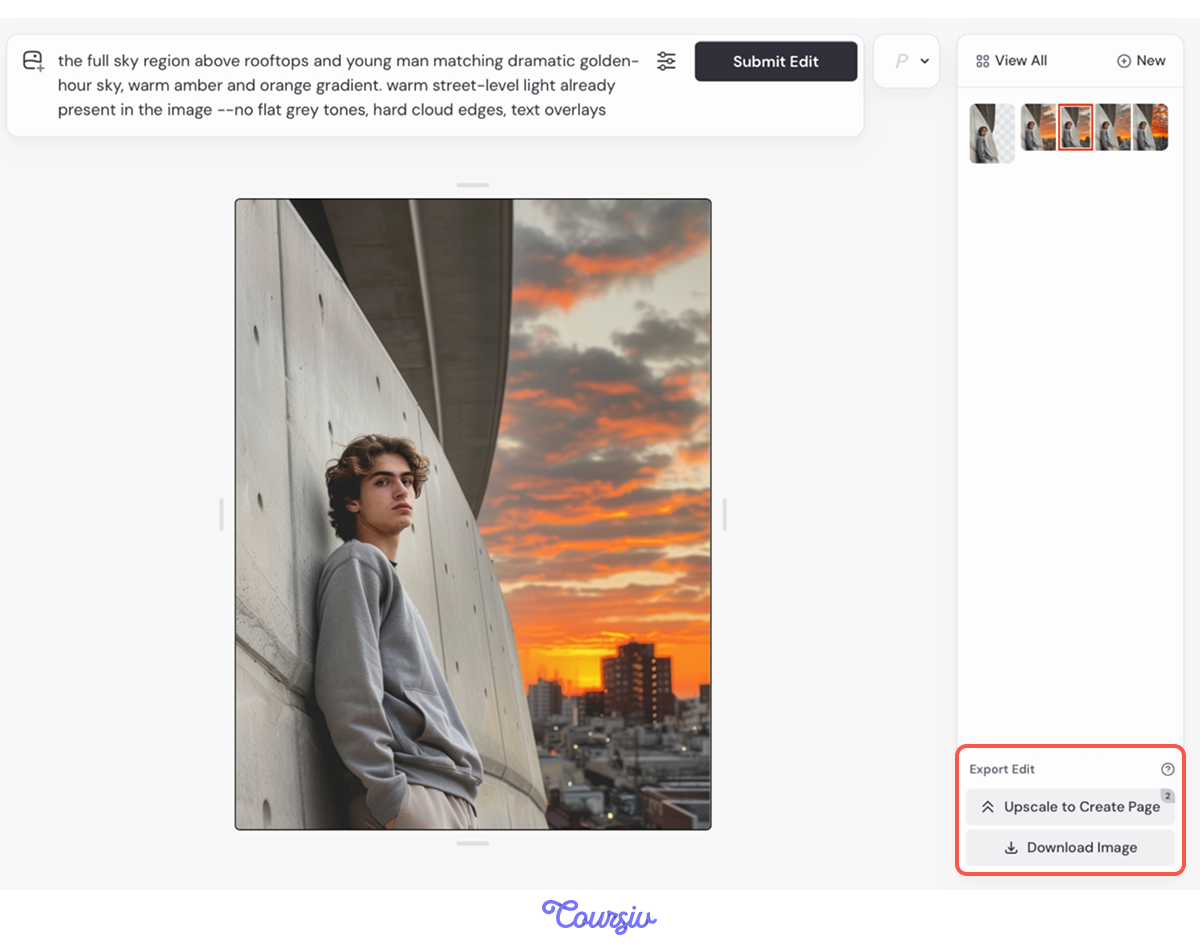
You've done three targeted edits. Now, the truck is gone, the runner is cut out, and the sky is replaced. What started as "almost usable" is now campaign-ready!
- Smart Select and Paint serve different purposes: Use Smart Select to isolate subjects with clean edges — it reads color and contrast boundaries automatically. Use the Paint tool's Erase brush for targeted object removal and large generative fills.
- Describe the surroundings, not the problem: Cleanup prompts work best when they describe what the area should look like — material, color, and lighting.
- Generative fill introduces new content: Match the original image's light direction and temperature in the prompt — a fill that ignores lighting will always feel like a composite.
- Export to match the use case: Download directly for standard digital use. Upscale to Gallery first for wide-format or print output.
What's Next?
You've learned a skill that transfers to every campaign, brief, and image that's almost right but not quite there yet.
In the next lesson, you'll shift to social media visuals — the most common skill for any designer.