Canva AI · Canva AI in Professional Practice
Canva AI for Design
Build and present designs with AI
Canva AI for Design
You don't need a design background to move from idea to finished asset.
In this lesson, you'll follow a full creative workflow: concept image, poster layout, refine copy, and a social media format — using Canva AI's tabs in sequence, each one building on the last.
Choose one
You have a rough creative idea and need to communicate it visually. What's the most practical first step?
Step 1: Generate a Concept Visual
The Image tab turns a text description into a concept visual — a moodboard reference, a design scenario illustration, or a styled image that communicates creative intent before any layout work begins. Let's start with it.
Let's say you need to promote a street music festival and create an image for that. Set the Style to Cinematic and the Aspect Ratio to 16:9 in the settings first — then describe the mood and setting in the prompt to get a precise result.
practice preview
Interactive practice
Fill in the blank
Complete the prompt to generate your concept image with a style and an aspect ratio.
The creative direction is on screen, and everything that follows builds from it. Let's turn one image into a layout in a different tab.
Step 2: Build the Layout
The Design tab returns a fully editable layout: structure, format type, and visual placement all applied. Describe the format, purpose, and tone, and Canva AI produces a starting point ready to open and refine.
Now, you need to create a poster to promote a street music festival further.
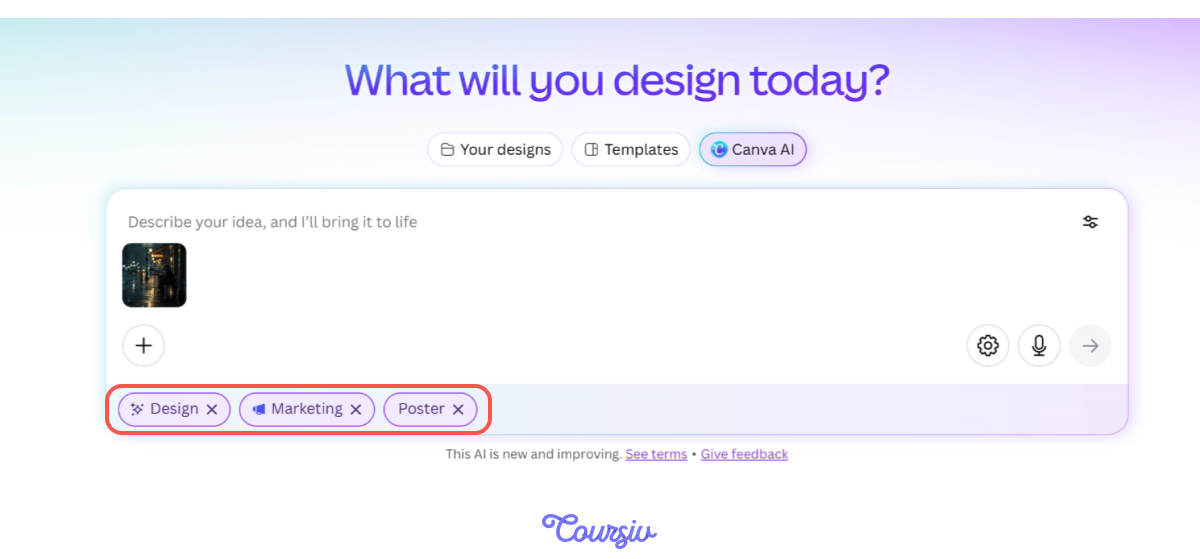
Take the concept visual, upload it as a reference, select Marketing as the category, and Poster as the format.
practice preview
Interactive practice
Fill in the blank
Use your uploaded image and generate a poster layout in the Design tab.
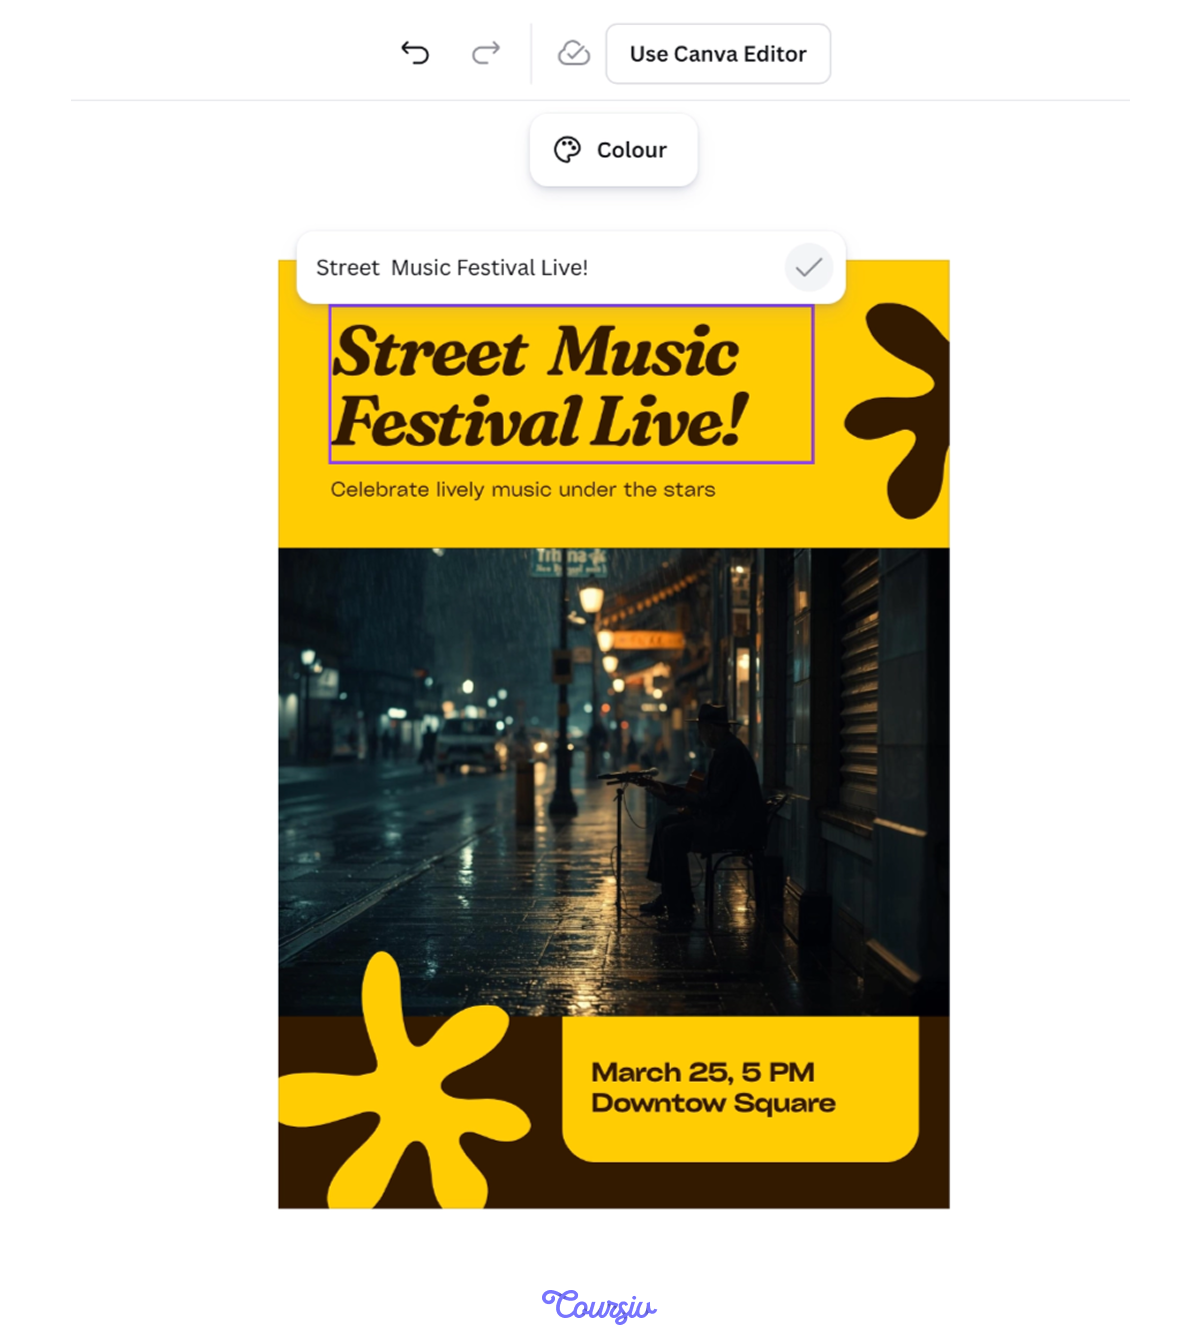
Choose the poster that suits you best from the generated versions. After selecting one, Canva highlights the text elements so you can quickly fix details like the date, location, or a typo before heading into the Canva Editor.
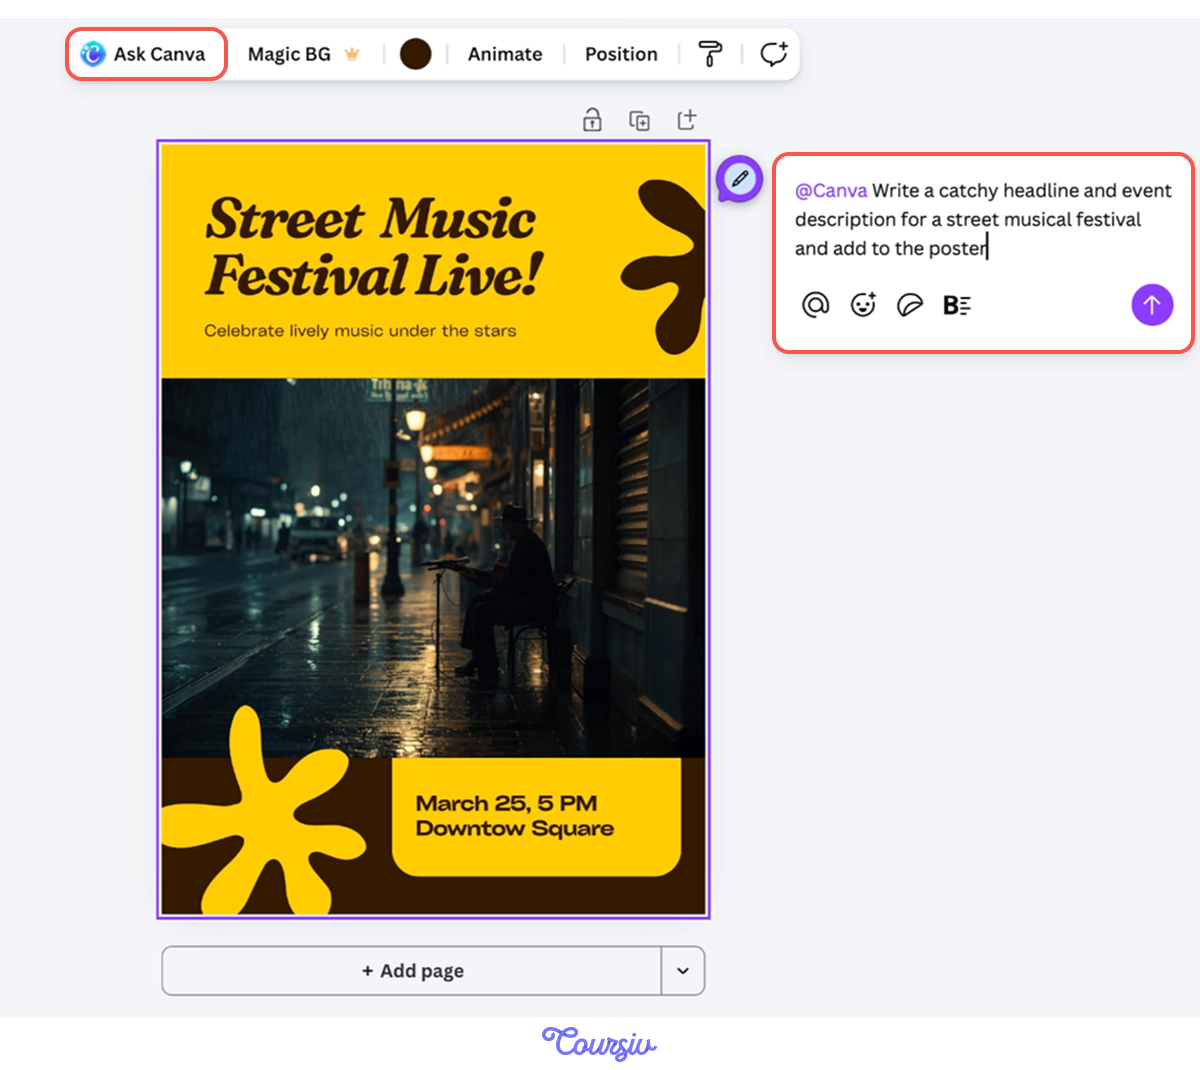
Tag @Canva in the comments panel, and it will refine or add any text you need right inside the editor. Let's ask it for a headline.
practice preview
Interactive practice
Fill in the blank
Use the @Canva chatbot to refine copy for the poster.
Choose one
How does tagging @Canva in the comments help when refining a design?
Step 3: Create an Alternative Version
The poster looks good, but it's always worth having a second version with a completely different feel. A darker tone, a cleaner look, something to compare against. Just upload the poster back into the Design tab and ask Canva AI to change the color and style of it.
practice preview
Interactive practice
Fill in the blank
Upload your poster and generate an alternative version in the Design tab.
Perfect!
You've got two versions of the poster ready: one to work with and one to have as an alternative. But a poster format won't cut it everywhere. Let's make sure the design works in other formats too.
Step 4: Change Into Format Variants
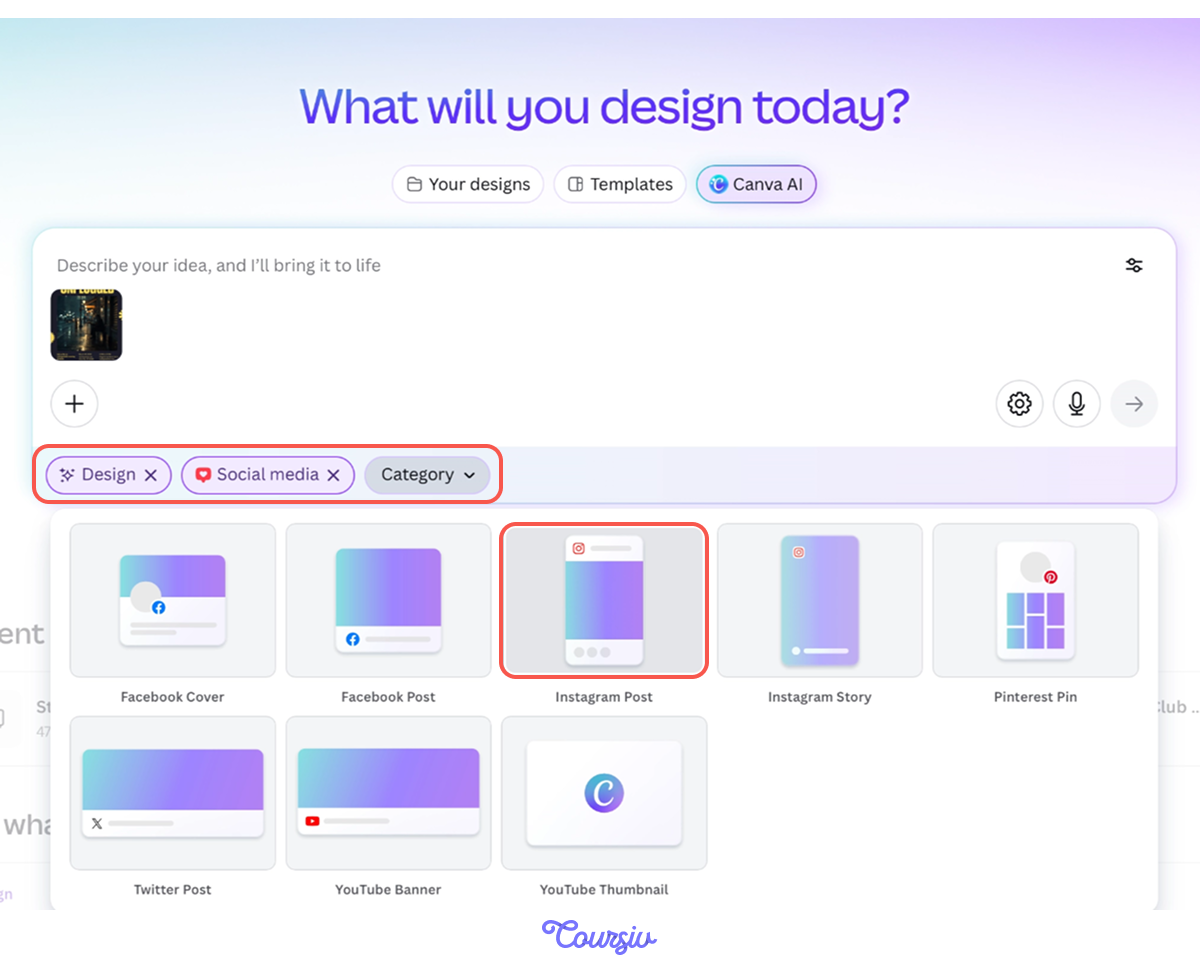
Say you want this design ready for Instagram. Let's create it back in the Design tab, ask Canva AI to adapt the poster into the format you need.
Choose Social Media as the type and Instagram Post as the category. It restructures the content while keeping the visual direction, copy, and tone intact.
practice preview
Interactive practice
Fill in the blank
Upload a poster and restructure it as an Instagram post.
practice preview
Interactive practice
True / False
Decide whether adapting formats with Canva AI is a useful approach for this situation.
- Start with a concept visual: Generate an image first to anchor the creative direction before any layout work begins.
- Build the layout around it: The Design tab structures the visual into an editable format ready to refine.
- Refine copy with @Canva: Tag it in the comments to adjust headlines, descriptions, and other text formats without leaving the editor.
- Always have a backup: Generate an alternative version in a different color and style — one prompt is all it takes.
- Adapt across formats: One approved design restructures into every format variant with an uploaded image.
You've gone from a concept image to a poster, a backup version, and a social media format. That's a complete design workflow, ready to take into practice right now.
In the next lesson, the same workflow moves into marketing, and you'll see how a full campaign comes together in a single session. Let's go!