Canva AI · Canva AI in Professional Practice
Canva AI for Marketing
Run full campaigns across every platform
Canva AI for Marketing
To put what you learned in this course into practice, let's use Design, Image, Text, and Code in a real marketing workflow.
In this lesson, you'll build a full campaign across multiple platforms from a single session, using tabs you've learned so far.

Select all that apply
What are the biggest challenges when producing multiple marketing assets for the same campaign?
All of those problems come from building assets separately. This workflow keeps everything connected: one tab feeds the next, and the campaign stays consistent from the first image to the final interactive element. Let's build it.
Step 1: Create the Brand Logo
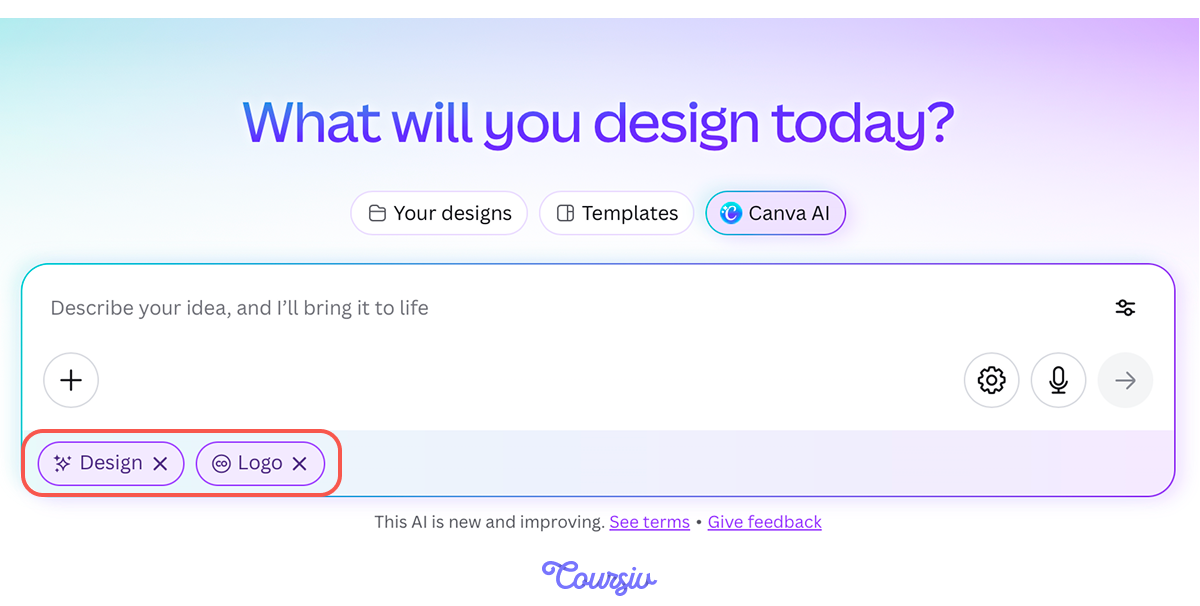
Before generating any campaign visuals, you need a logo that will anchor the brand across every asset. Let's create one in the Design tab — minimalistic, clean, and ready to use.
practice preview
Interactive practice
Fill in the blank
Generate a minimalistic logo for a brand called Lasyin in the Design tab.
Look at the generated versions and pick the one that best matches the brand direction: clean, luxurious, and suited to a premium skincare product.
That's your brand identity starting point. And to make sure it shows up consistently across every asset you generate from here, you need to lock it in.
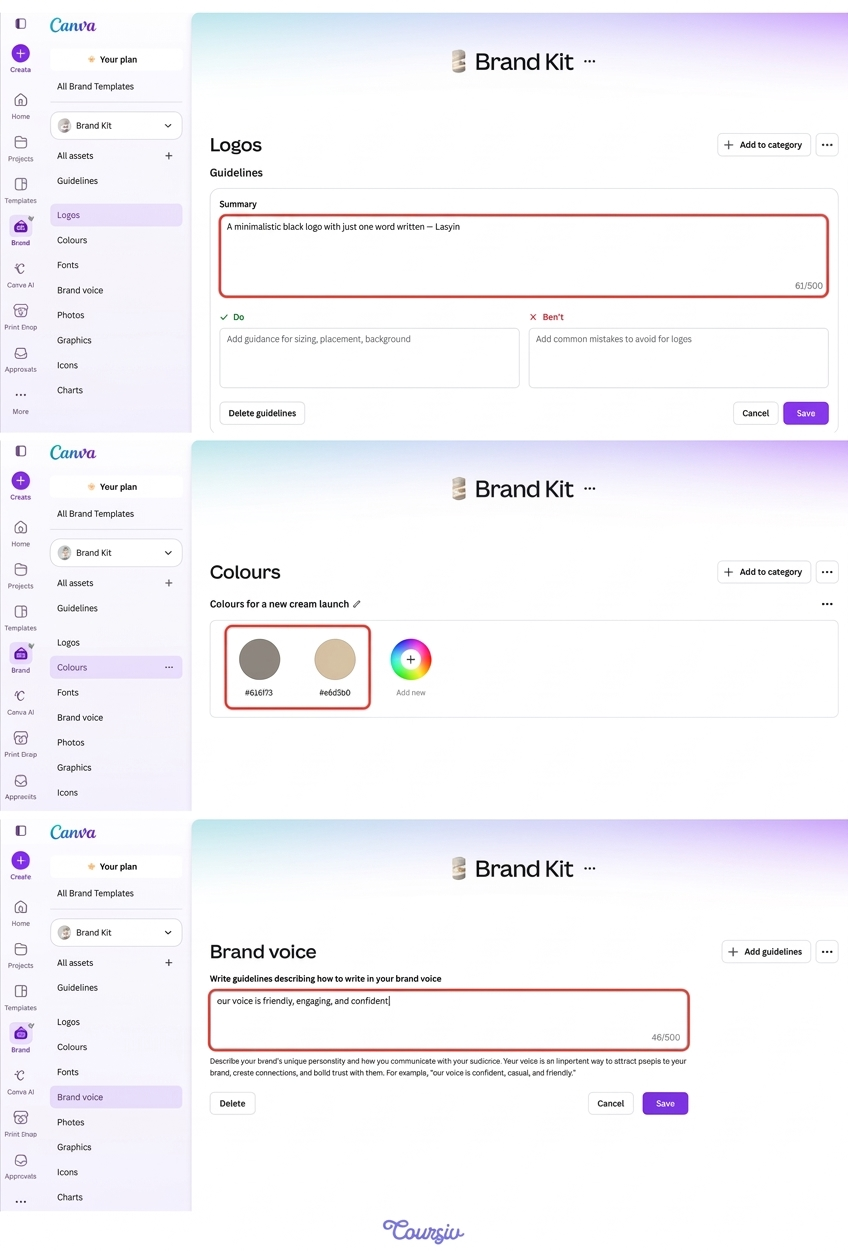
Step 2: Set Up the Brand Kit
That's what the Brand Kit does. It locks in your logo, color palette, and brand voice, so every asset Canva AI generates reflects the same brand identity. Set it up once, and it applies across every tab and output that follows.
Step 3: Generate the Campaign Hero Image
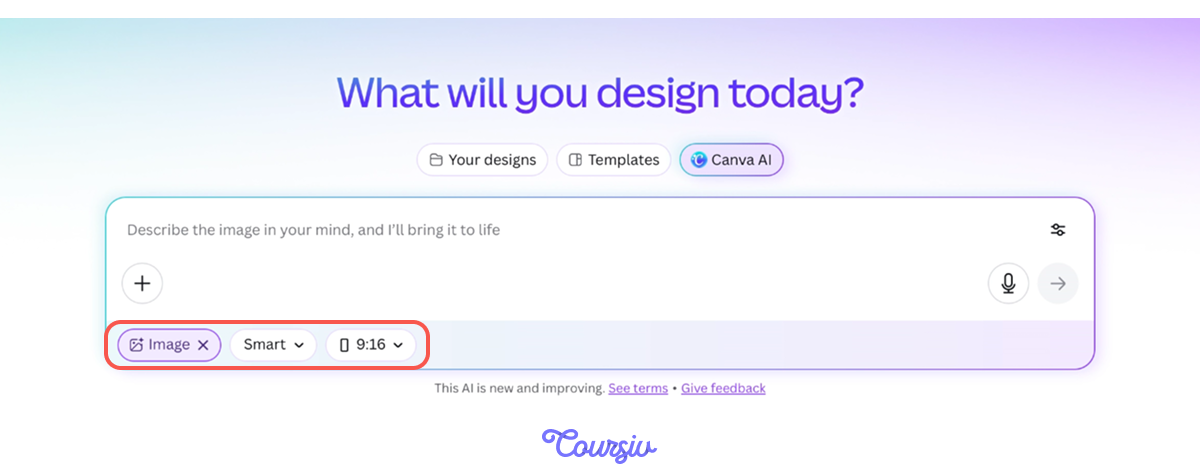
With the Brand Kit set up, let's move on to the next step and create the hero image. Head to the Image tab and upload the logo.
You can choose "Smart" as a style(it lets Canva select the most suitable visual style), 9:16 ratio (great for mobile and social platforms), and generate the product shot that will anchor the whole campaign.
practice preview
Interactive practice
Fill in the blank
Generate a product hero shot with your logo using the Image tab.
Your hero image is ready, and the Brand Kit is locked in, meaning every asset from here will automatically carry the same logo and colors. Let's put that to work with the first campaign asset — a Facebook post.
Step 4: Build the Campaign Facebook Post
Head to the Design tab, upload the hero image as a reference, and let's generate the Facebook post. With the Brand Kit in place, the logo, colors, and typography will be applied automatically — no extra steps needed.
practice preview
Interactive practice
Fill in the blank
Use the Design tab to generate a Facebook post from your hero image with Brand Kit applied.
Excellent!
With the hero image and Facebook post ready, the visual side of the campaign is taking shape.
But a strong marketing campaign doesn't stop at visuals — you need a copy that reaches your audience directly, too.
Step 5: Write the Campaign Email
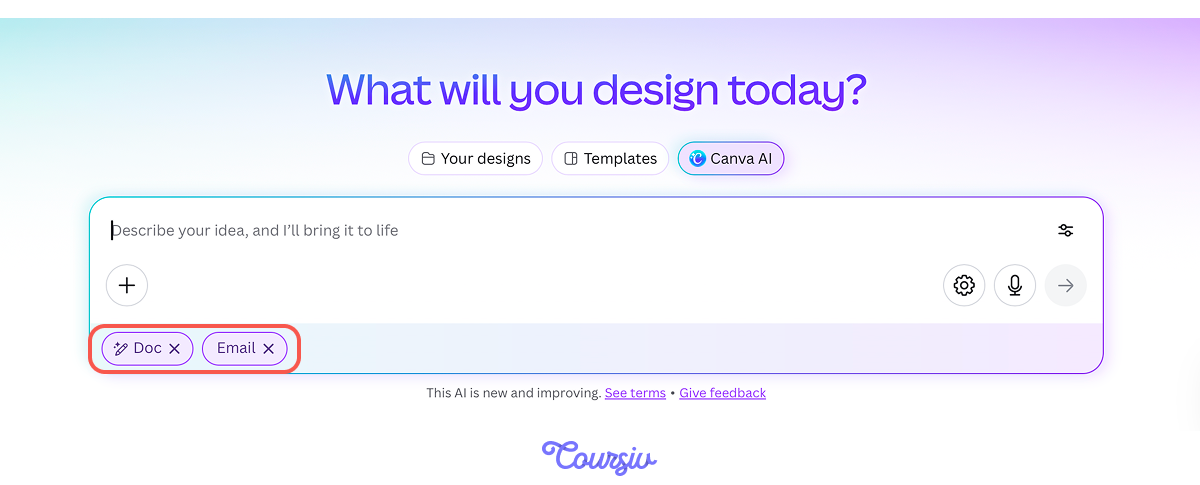
An email is one of the most effective ways to reach your audience directly. Head to the Doc tab, select Email as the output type, add details on assets you've built, and ask Canva AI to write a launch email that introduces the Lasyin cream.
practice preview
Interactive practice
Fill in the blank
Generate tone-matched copy for your product launch campaign using the Doc tab.
Notice what happened: you specified "email" as the platform, and output arrived with a subject line, a structured body, and a length suited to how email gets read.
If you change the platform to Instagram, the same brief comes back as a caption instead.
Perfect!
You've generated the hero image, the Facebook post, and the launch email. Now there's one more step: adding an interactive element that makes the campaign live.
Step 6: Build the Interactive Campaign Element
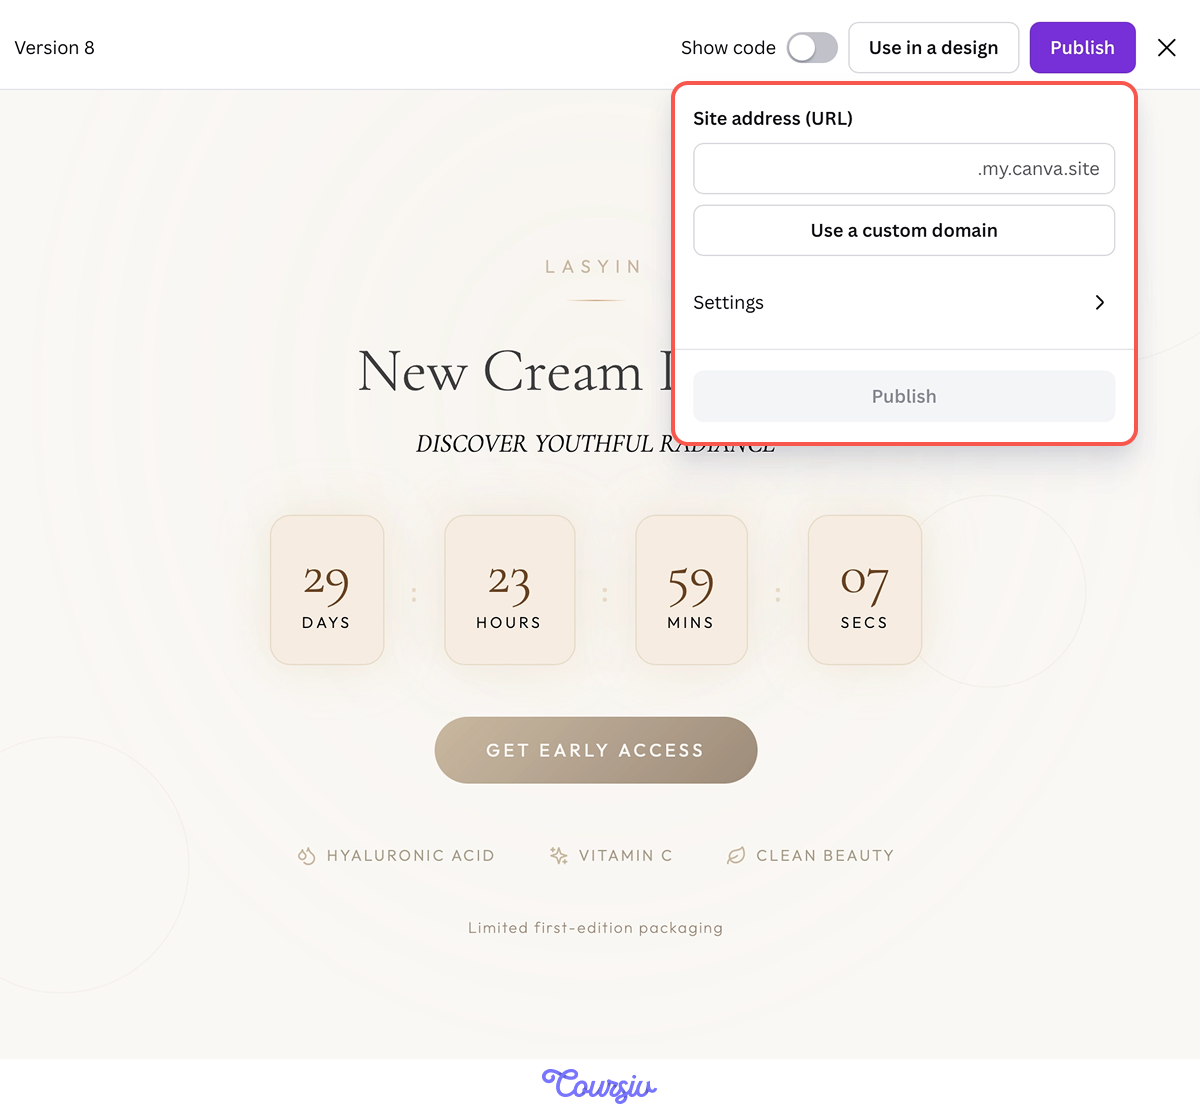
The Code tab handles that. Let's build a countdown timer for the Lasyin launch — once it's ready, embed it into your website or share it as a link alongside the post and email, so every part of the campaign works together.
practice preview
Interactive practice
Fill in the blank
Build an event countdown timer for your product launch using the Code tab.
The countdown can be embedded into your website, shared as a standalone link, or dropped into a presentation — whenever the launch date changes, just update the prompt and Canva AI rebuilds it instantly.
Now your campaign is complete: a logo, a hero image, a branded Facebook post, a launch email, and a live countdown, all ready to use. Before moving on, let's see how well you remember which tab handled what.
practice preview
Interactive practice
Match pairs
Tap a left item, then a right item to match.
- Start with the logo: Create a brand logo in the Design tab before generating any campaign visuals.
- Build the hero image around it: Upload the logo into the Image tab and generate a product shot that anchors every asset.
- Lock in the Brand Kit: Set it up once, and every output that follows reflects the same logo, colors, and typography.
- Use the Doc tab to write a copy that fits the format: Select the output type, describe your assets, and Canva AI generates copy that matches the tone and context of what you've already built.
- Generate interactive elements without a developer: The Code tab can build countdowns with a prompt, describe what you need, and it generates the functional element behind it.
One More to Go!
You built a complete campaign: a brand logo, a hero image, a branded Facebook post, a launch email, and a live countdown in one tool.
In the next lesson, you'll see the same workflow for sales: how to turn a client brief into a full proposal package.