Kling · Kling's Core Features
Image Generation
Create, edit, and transform any visual
From Idea to Image
You already know how to write a solid prompt. Today, let's see what it produces. A prompt that took seconds to write can turn into a detailed image, a styled illustration, or a full set of consistent visuals.
In this lesson, you'll learn how to use Kling's Image Generation to produce visuals from text, edit them, and keep everything visually consistent across an entire project.
What You Can Generate
The possibilities of Kling's Image Generation are endless: creating product mockups, lifestyle scenes, concept drafts, 3D renders, illustrations, logos, and more — for personal projects and professional work.
Let's start with the basics and work through each capability step by step.

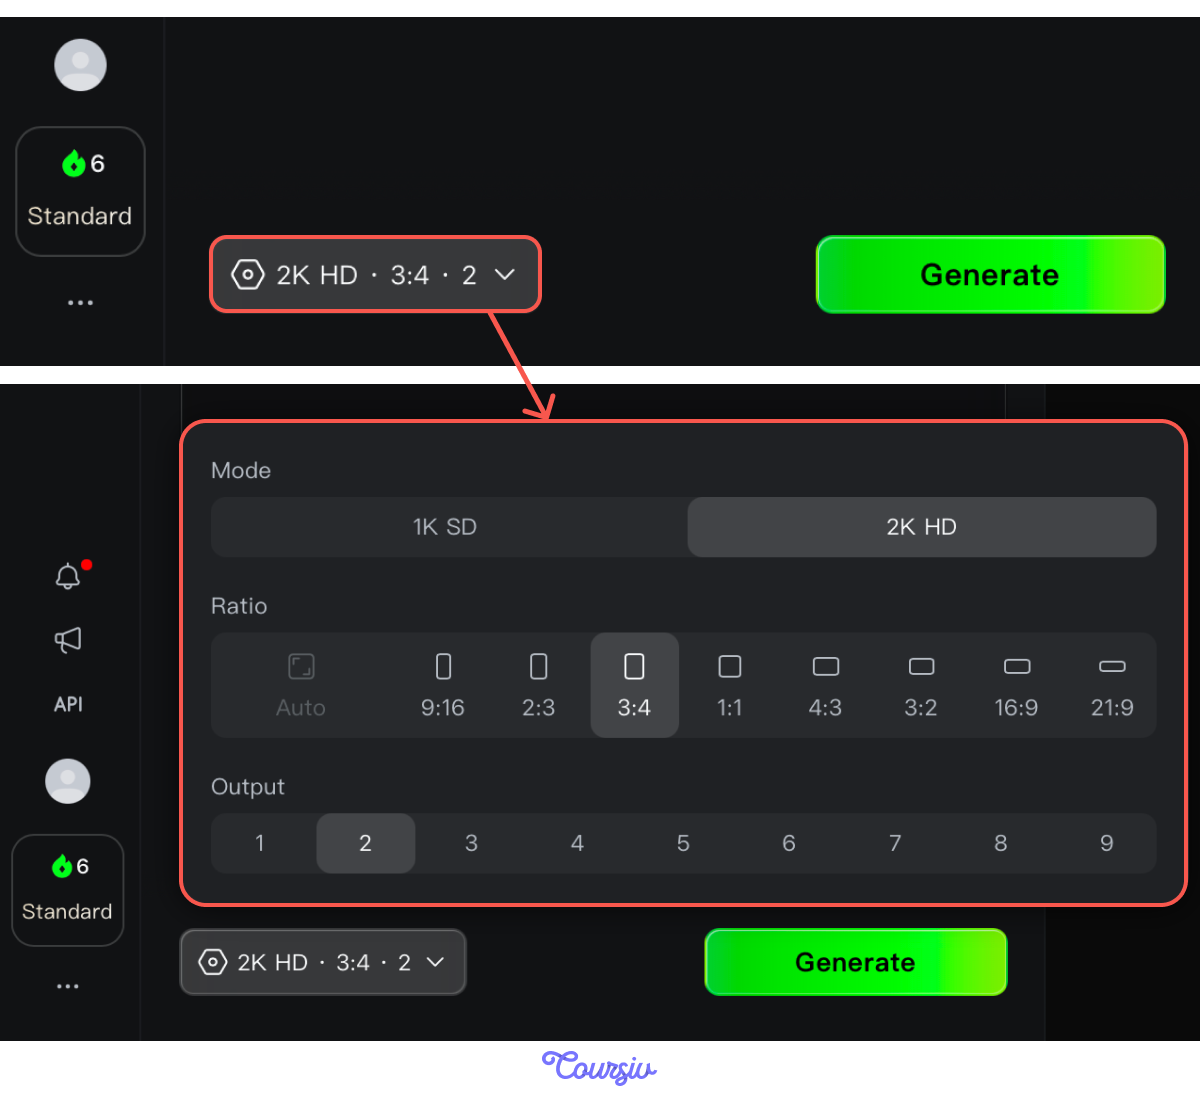
Before generating, take a look at the Image Generation settings. At the bottom, you'll find three options:
- Mode: 1K SD or 2K HD
- Ratio: from 9:16 to 21:9
- Output: how many images to generate at once
Adjust these based on what you need: a square for social, a widescreen for film, or multiple outputs to compare variations.
Your First Image Generation
Time to try it out! Generate an image, edit it with a text instruction, then transform its style entirely.
practice preview
Interactive practice
Fill in the blank
Ask Kling to generate an image of a toy car.
Now try changing something in the toy car image without touching anything else.
Text-Based Editing
Kling lets you edit a generated image by typing a plain instruction. Add an object, remove one, swap a color, change a detail, and the model applies the change while preserving the original lighting, style, and texture.

practice preview
Interactive practice
Fill in the blank
Change the color of the toy car using a single text instruction.
The color changed, while the style, lighting, and background remained the same. That's what text-based editing does.
Image-Based Editing
Text instructions work well when you know exactly what to change. But sometimes the result you're after is harder to describe in words, such as a specific texture, a finish, or a visual feel. That's when you upload a reference image and let Kling match the style visually rather than interpret it from text.
You can describe a style directly in your prompt or use Kling's built-in Styles library to pick one visually. Either way, Kling applies it to your image while preserving its shape, proportions, and composition.
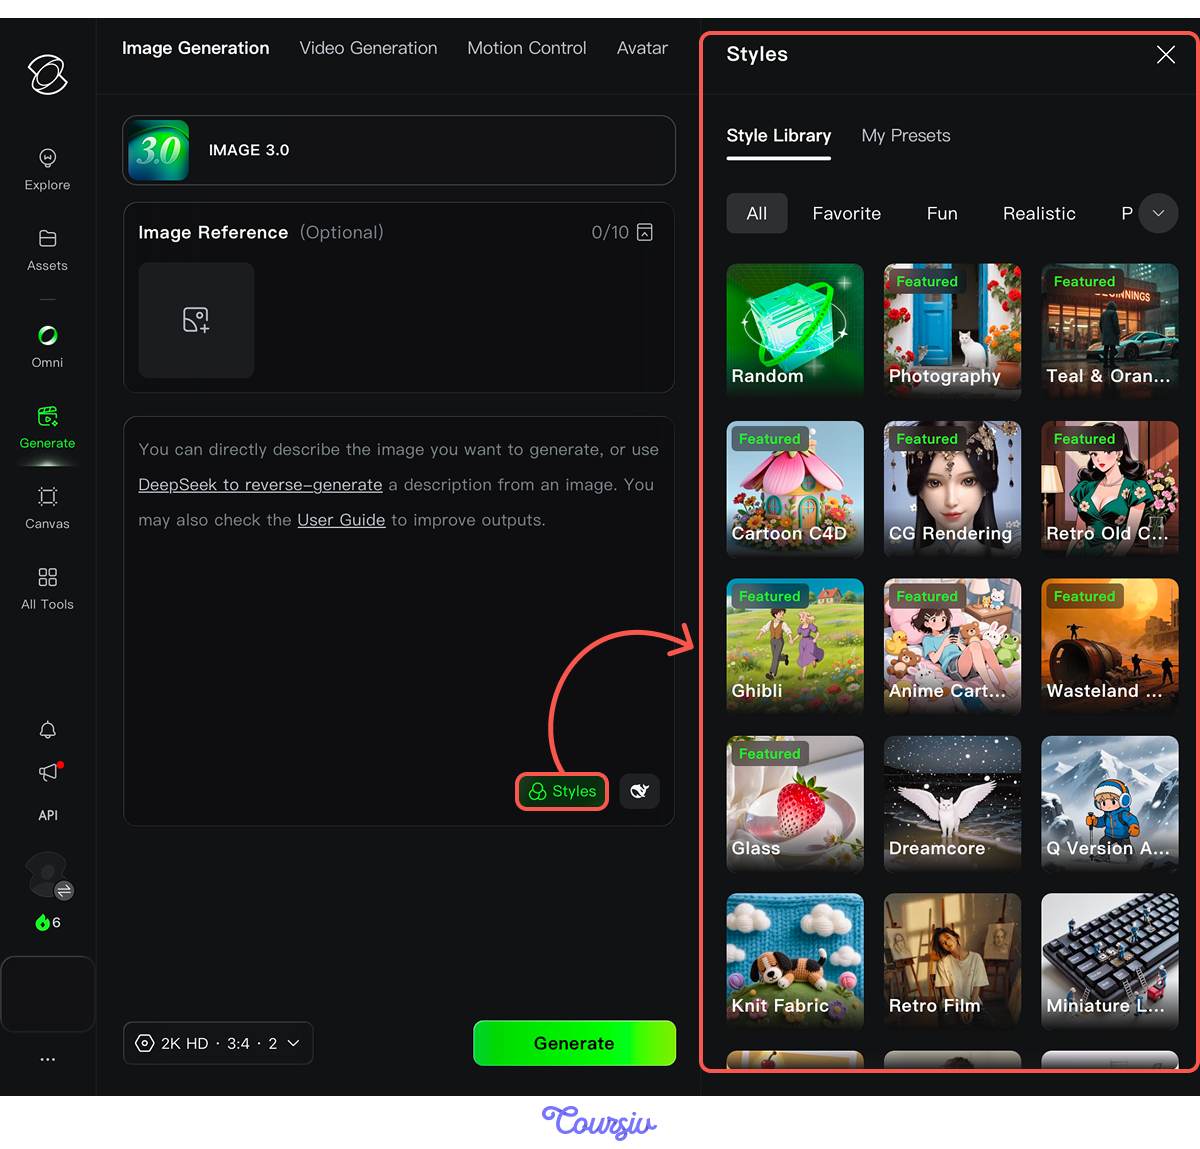
Imagine you want to give the car a kids' toy feel by applying a style reference. Let's see how the image changes depending on which style you pick.
practice preview
Interactive practice
prompt fixer
Identify which style reference fits a kids' toy aesthetic and replace the default option.
Excellent!
This is where Image Generation goes deeper. Kling reads the style of an image — the colors, texture, and composition — and applies it to a new one while keeping the original structure.
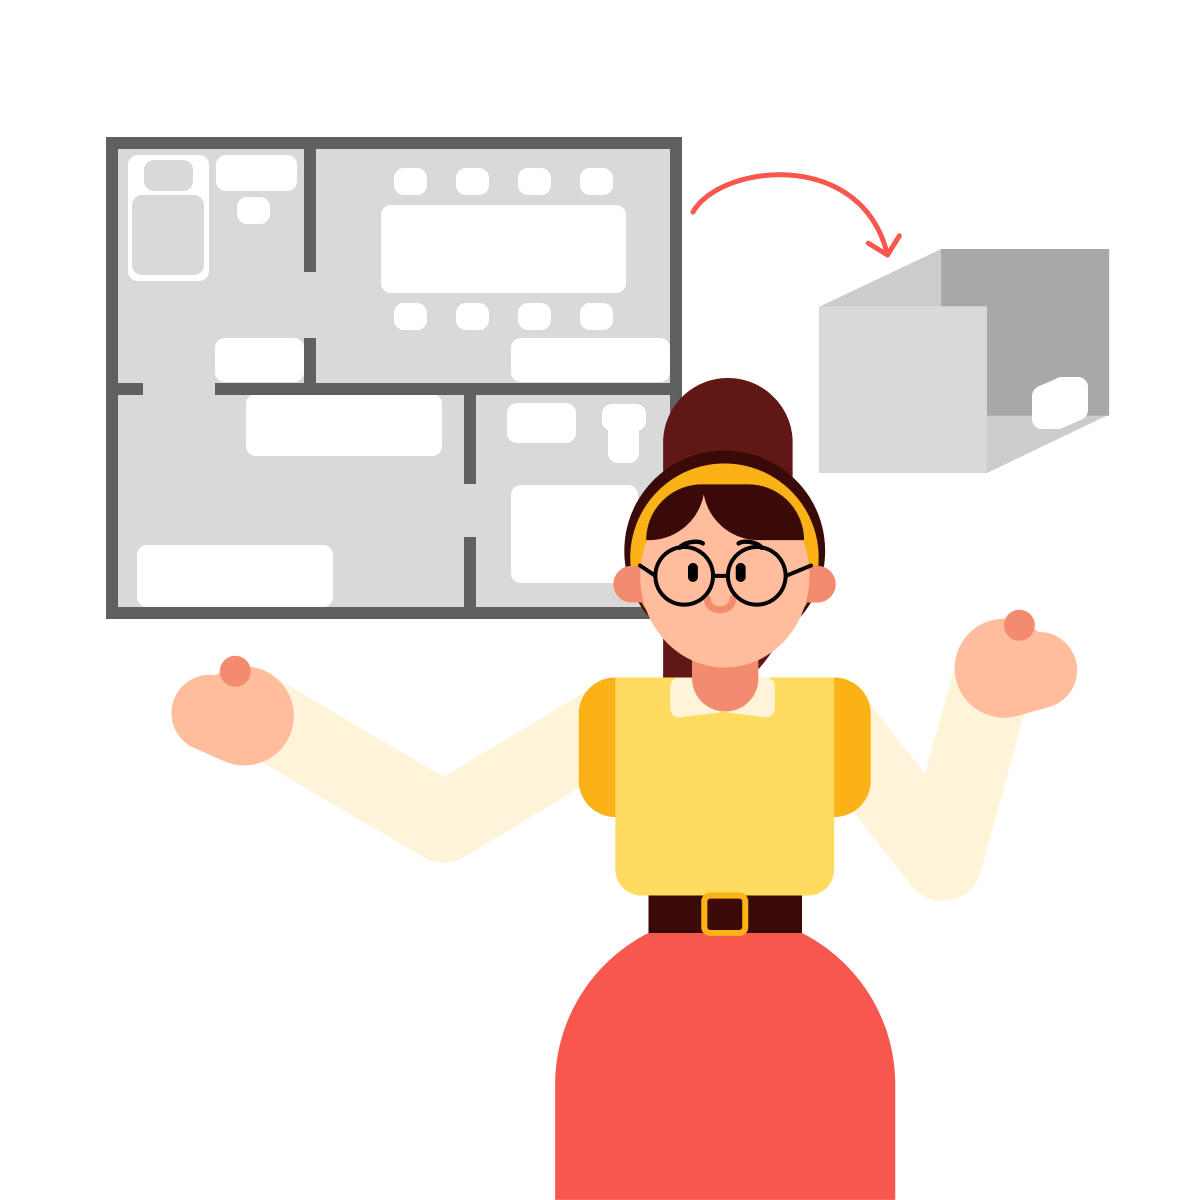
Let's try a more practical task. Imagine you need to create an interior design layout for a living room. Start with a simple description with a Design Draft Style, then transform it into a 3D model.
practice preview
Interactive practice
Fill in the blank
Ask Kling to generate a living room interior layout.
Great! You have a clean living room layout. Now you can use it as a reference to transform it into a realistic 3D model with a single instruction.
practice preview
Interactive practice
Fill in the blank
Transform the living room layout into a realistic 3D-style render.
Great Work!
The flat layout was rendered as a photorealistic 3D scene with the same proportions and furniture placement. That's how you can use style transformation: take any image and shift how it looks without changing what's in it.
Choose one
How does style transformation help you in a real-world task?
You've seen how style transformation works on a single image. Let's look at what happens when you need that same visual consistency across multiple outputs at once.

Multi-Reference Input
When you need multiple outputs to look consistent, upload your reference images, and Kling aligns every generation to them — up to 10 images at once. Let's generate a logo to use as our first reference.
practice preview
Interactive practice
Fill in the blank
Ask Kling to create a minimal brand logo.
Now upload the logo and a mug photo as references, and generate branded product visuals from them in the same session.
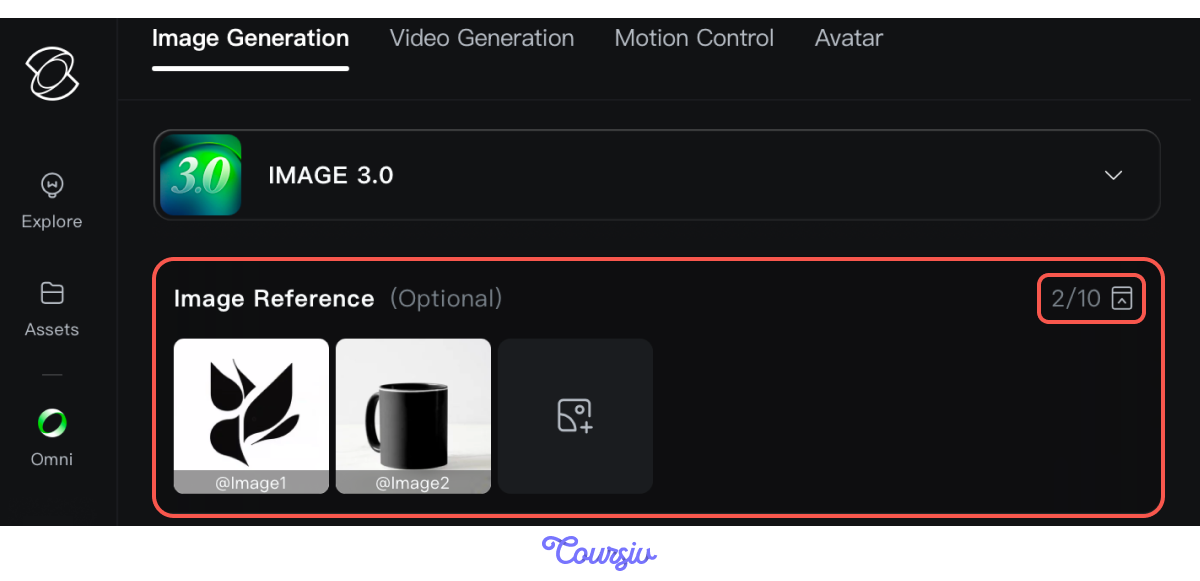
practice preview
Interactive practice
Fill in the blank
Upload a logo image and generate two branded product visuals.
Perfect!
Both outputs arrived visually consistent — same logo, color treatment, and brand feel — without any manual alignment. You generated the reference in the same session, and Kling carried it through the outputs that followed.
You can now generate, edit, transform, and maintain consistency across a full image session!
- Text-based editing: Changes one element without touching anything else. Use it when the image is close but not quite right.
- Image-based editing: Upload a reference, and it applies the visual language directly.
- Style transformation: Convert the rendering approach with one instruction — knit texture to photorealistic, sketch to 3D render, without rebuilding anything from scratch.
- Multi-reference input: Upload once, stay consistent across the entire session.
You've gone from a text prompt to a styled image, an edited detail, a 3D render, and a fully consistent brand set — all without leaving Kling.
In the next lesson, those same images will start moving! Video Generation brings in camera control, multi-shot structure — and everything you've learned about prompting applies directly. Let's try it.