Omni · Advanced Omni Tricks
Creating Transitions
Anchor beginning and ending precisely
From First to Last Frames
So far, you've learned to create individual videos with precision. But what happens when you want several clips feel like a smooth, flowing story?
In this lesson, you'll learn how to control exactly how your videos start and end, creating seamless transitions between scenes. Let's see how it's done!

The Transition Challenge
Often, you might have a clear vision of how you want your video to start and end, but the results from your prompts just don't click:
- One video might end mid-step without the desired final shot.
- Another, vice versa, starts in a weird way.
This is where controlling the start and end frames can help.
Choose one
Why do you think controlling start and end frames matters for video storytelling?
Professional videos feel smooth because transitions between scenes are natural.
The end of one shot flows seamlessly into the beginning of the next.
With Omni, you can design that flow using start and end frames.
This is how it works:
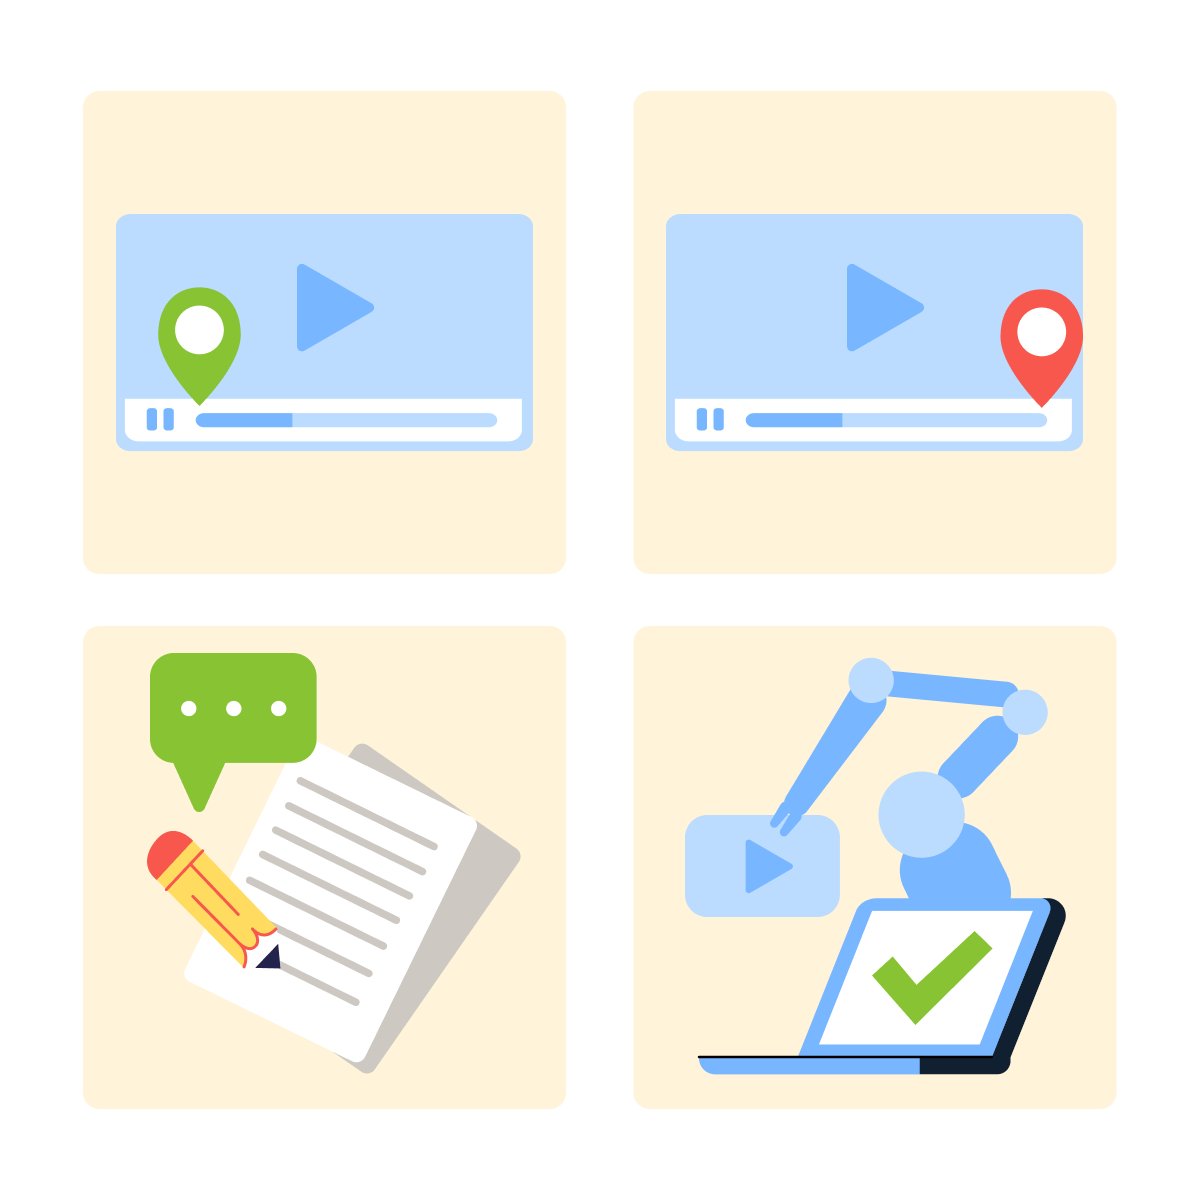
- Upload a start image — the first frame of your video
- Upload an end image — the last frame
- Write your prompt describing what happens between them
- Omni generates the animated transition
Select all that apply
What are some effective uses for start and end frames?
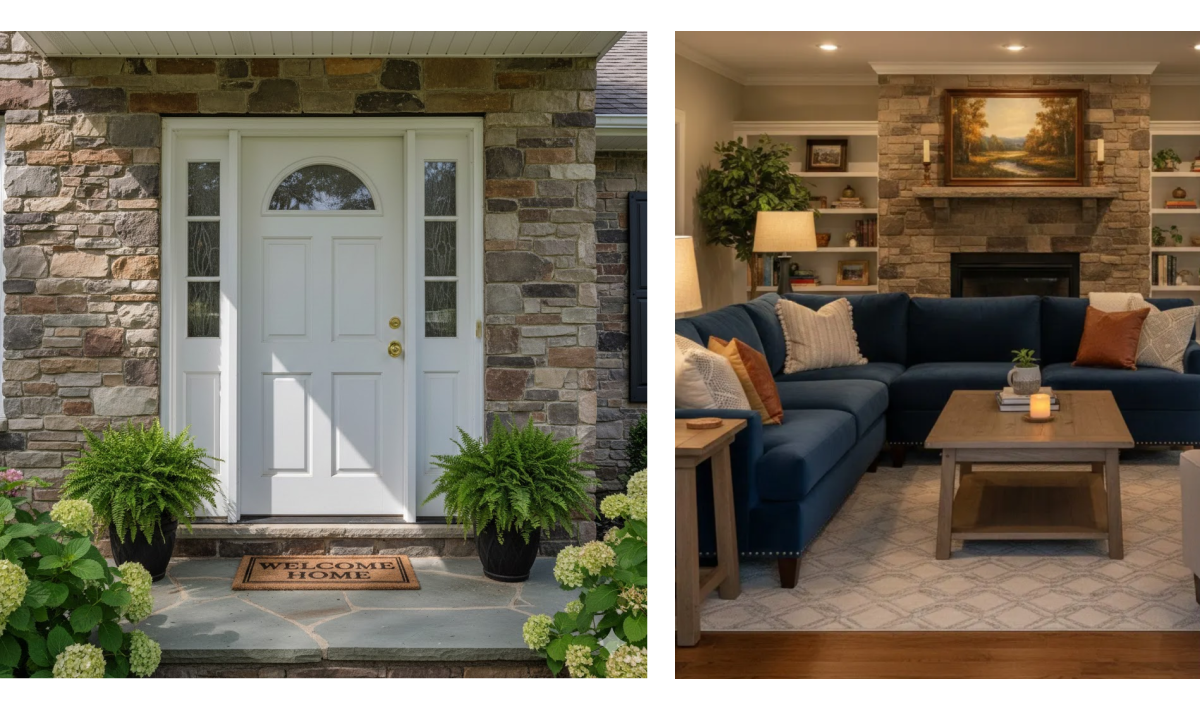
Let's see it in action with these two images.
practice preview
Interactive practice
Fill in the blank
Upload a start image and an end image, then complete the prompt.
Notice what happened: the start and end frames acted as anchors, and Omni filled in the journey between them.
The result is one continuous camera movement through space:
Using Only a Start Frame
In fact, you don't always need both frames. Sometimes you just want to control how your video begins, making sure it starts from a specific moment.
Using only a start frame works well when you care about the opening shot and want Omni to decide how the action unfolds.
You've already done this with a birthday greeting and a dancing cat video.

You can also work in reverse.
You can control how your video ends — ensuring it concludes at a specific moment or position.
This approach is valuable when you know exactly where you want the action to finish. For example:
- Ending with a perfectly framed product
- Concluding with a specific facial expression
- Aligning the final frame with a location for the next scene
Upload your end image and write your prompt. Omni will animate toward it.
Let's try this example.

practice preview
Interactive practice
Fill in the blank
Complete the prompt to guide Omni toward a specific final frame.
The video ends precisely where you wanted — cup centered, perfect composition.
This level of control is crucial when you're connecting multiple clips or need a specific final frame.
Choose one
So, which scenario do you think benefits most from using start and end frames?
Choose one
Now, imagine creating a journey from outside a building to an office inside. Which approach would work best?
- Control transitions by defining where videos begin and end.
- Use both frames to create smooth animated paths between two points.
- Use the start frame only when you want to control the beginning composition.
- Use the end frame only when you need precise final positioning.
What's Next?
You now know how to connect scenes and build smooth transitions.
Next, you'll learn how to extend videos beyond their initial length and control timing inside a scene.
Keep it up!